
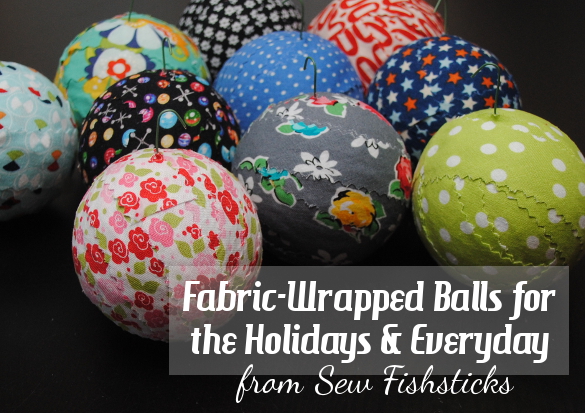
 These fabric-wrapped balls are super-easy to make, and they work beautifully as Christmas tree ornaments or as everyday decor! There are a number of tutorials out there already, but I tried a few, and I just wasn’t thrilled with the results. I wanted the fabric to sit flush up against the ball without having to glue the entire strip down. The trick? Cut your fabric on the bias! When you cut on the bias, you get just enough stretch to allow the fabric to fit around the curve on the ball, and you only have to glue the ends down. Ready for the quick tutorial?
First, you’ll need these items:
Styrofoam balls (I used 3″ balls.)
Fabric
Tacky glue
Short ornament hooks, if you’re making tree ornaments
Pinking shears or a rotary cutter with a pinking blade
To cut your fabric on the bias, start by folding your fabric over so that you have a fold that is on a 45-degree angle with the fabric grain.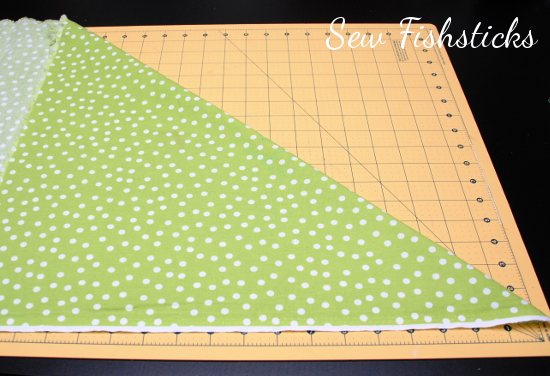 I used a pinking blade on my rotary cutter to cut the strips. You can also use pinking shears, or you can just cut the strips with a straight blade or scissors. You’ll want to cut along the angle that you created with your folded fabric.
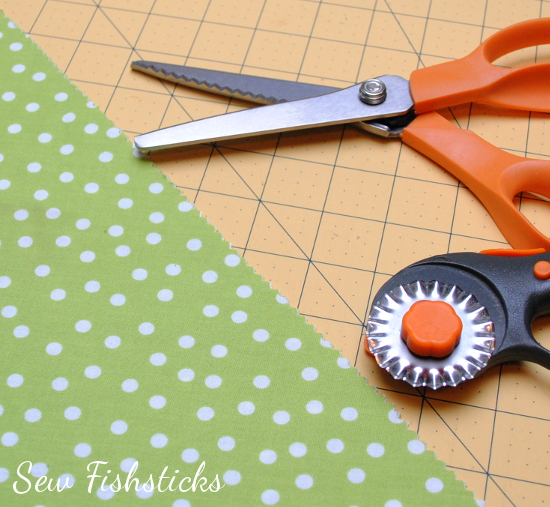 Cut your strips 1″ wide. For a 3″ ball, I used about 80″ total of 1″ wide fabric.
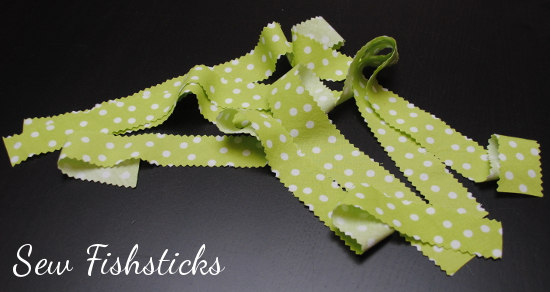 If you’re making these into tree ornaments, you’ll need hooks so that you can hang them. I used small ornament hooks that look like this:
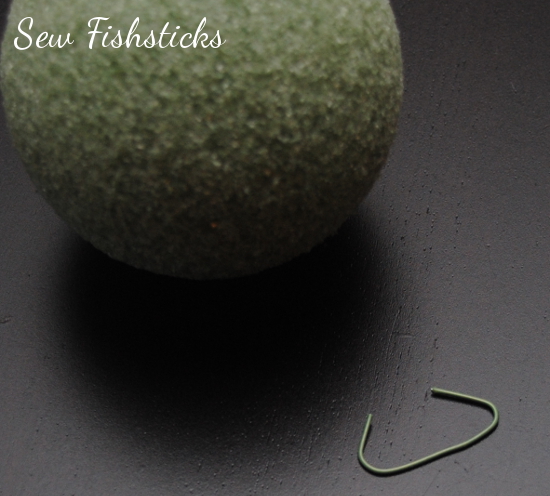 Leave the curve on one end and bend the other into a flat 90-degree angle. Slide the flat end of the hook into the styrofoam ball and twist the whole hook around so that curved end is straight above the ball and the flat end is down inside the ball about 1/4″ or so.
 Dab some glue on the back of one end of one of your strips.
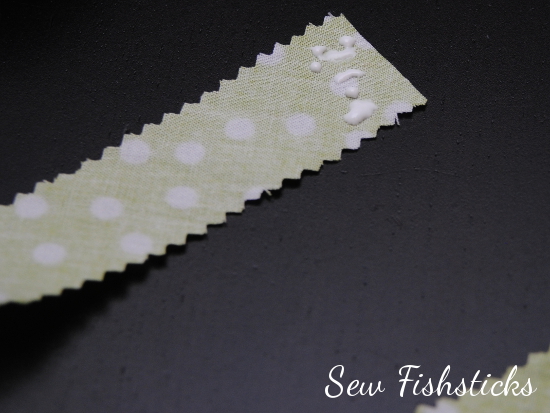 Place that glued edge over the point where you’ve placed the hook, and press it down.
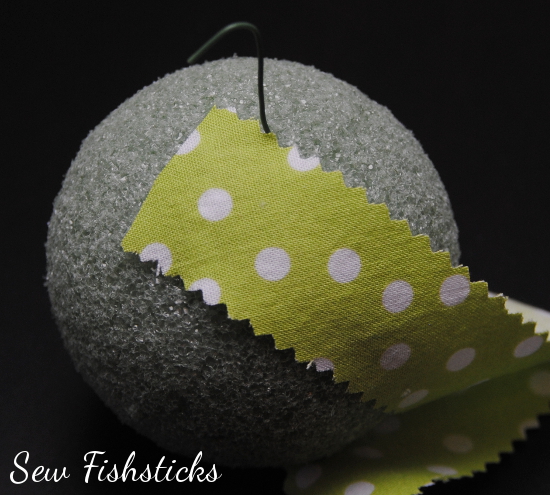 Start wrapping the fabric. You’ll see that when you pull it slightly, the fabric strip conforms to the shape of the ball.
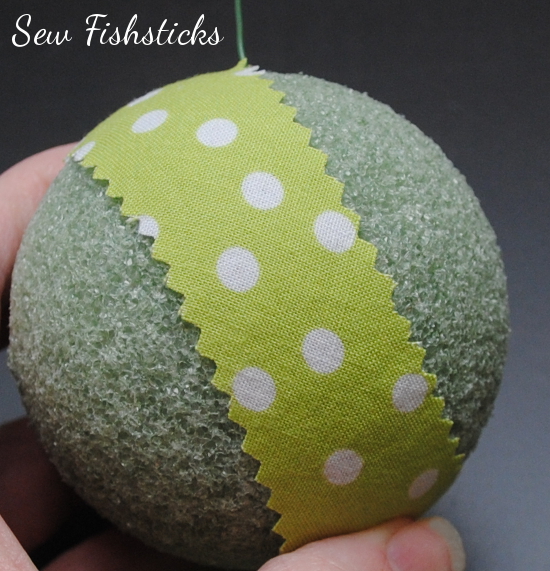 Continue wrapping, stretching and overlapping slightly so that the fabric stays snug against the curves. When you get to the end of a strip, dab a bit of glue on the back side and press it in place. Start each new strip where the last one ended.
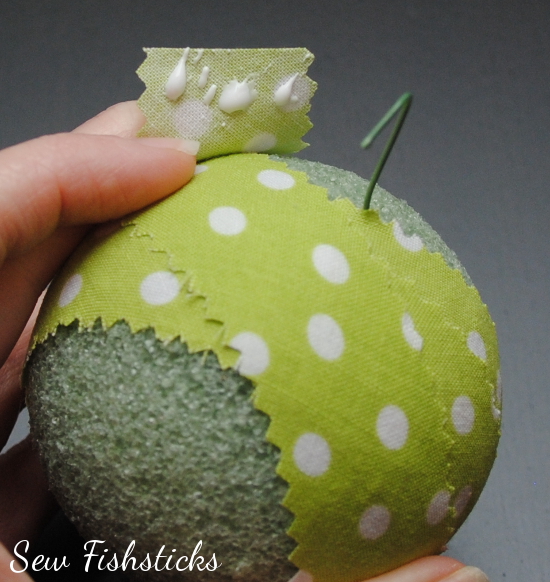 Continue wrapping and adding new strips until the ball is completely covered. Glue the last edge in place.
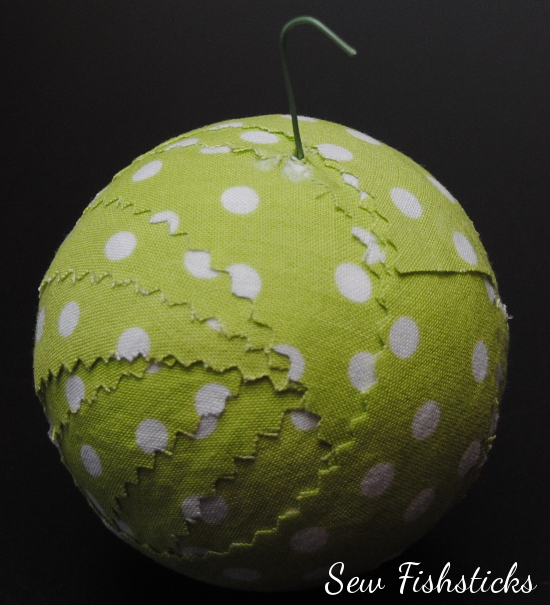 Hang your new ornament on your tree …
 … or make a few more and pile them into a bowl or basket and put them on display!
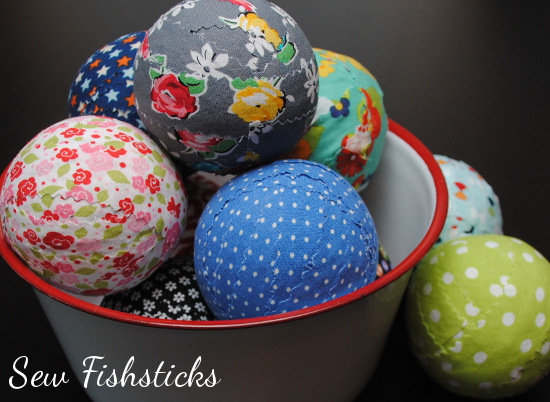

Love this idea. Have been sewing forever and never thought of hanging fabric balls on the tree.
I’m so glad you like the idea, Pam! Decorating with fabric is so much fun!
What a lovely idea does anyone know the process of gluing Christmas cards on to styrofoam balls ? It first appeared in Better Homes and Gardens in the 1950’s or close to that date really are beautful as are these material ones