
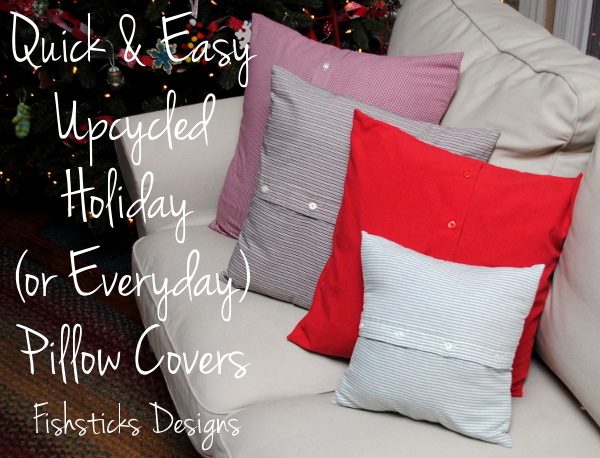
 With Christmas less than two weeks away and my sewing barely begun, I needed a quick and simple project this past weekend to give our livingroom a little extra Christmas cheer. A few new toss pillow covers in Christmas red and green made from thrifted button-down shirts filled that need quite nicely! In colors to match your decor, these pillow covers would actually work as beautifully year-round as they do for the holidays. Want to make a few of your own? Just read on.
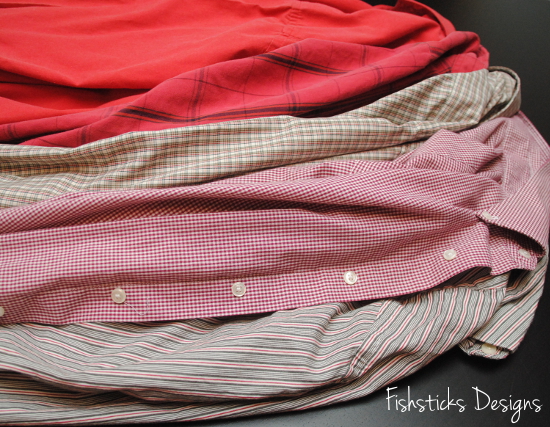 To get started, you need a pile of men’s button-down shirts. I found all of these at our local Goodwill store for around $2 a piece. For larger pillows, of course, you’ll need larger shirts. You also need toss pillows. I used the ones that were already on my sofa.
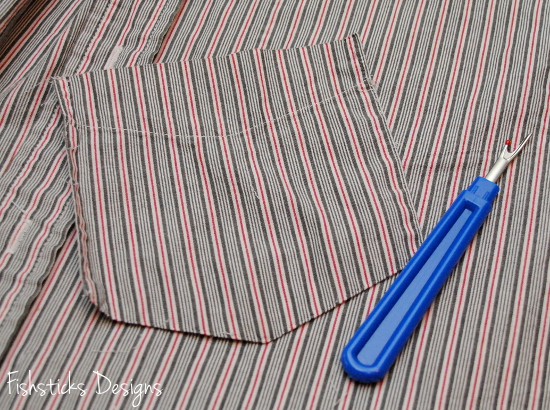 The first step is to remove the pocket from the shirt that you’re working with. Just grab your handy seam ripper and carefully rip it off. (If you cut the stitches on the pocket side rather than the shirt side, you run less risk of damaging the shirt.) Once the pocket is off, if you have tiny needle holes remaining, either spray them down with water from a spray bottle and press well with a hot steam iron, or place a damp cloth over the area with the holes and press well with your steam iron. Cut the front and back of the shirt apart.
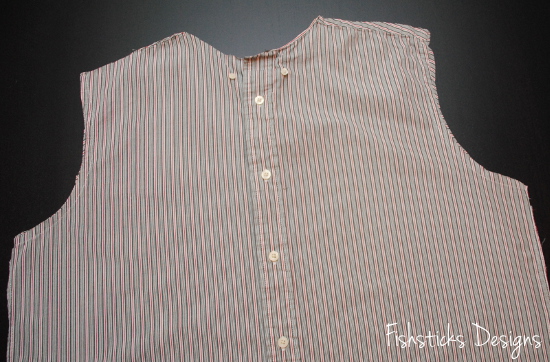 Measure your pillow. Mine measured 17″ square. Most shams are made to the exact size of the pillow, but since I like mine to be just a little bit snug, I’m going to make my sham 16 1/2″ square. Because I’m using a 1/2″ seam allowance, I’ll add 1″ to that measurement (seam allowance times two), and cut my front and back pieces 17 1/2″ square.
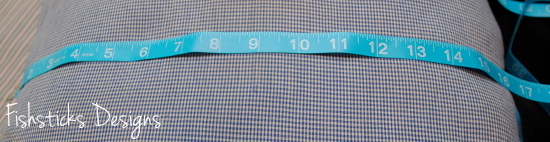 With the shirt front buttoned, measure and draw your piece. I centered my button placket, but you could place it off-center if your shirt is large enough. You will want to center the individual buttons, however. To do this, I just move my see-through ruler up and down until I have the correct full measurement and an even amount above the top button and below the bottom button. Be careful not to get the top and bottom buttons too close to your seam allowance. You want them to be at least 1 1/2″ in.
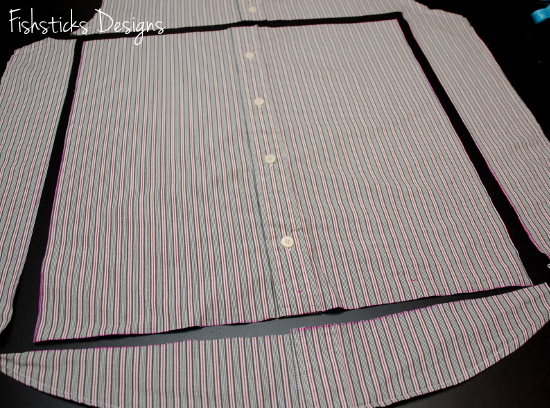 Cut a second piece from the back of the shirt for the back of your pillow sham.
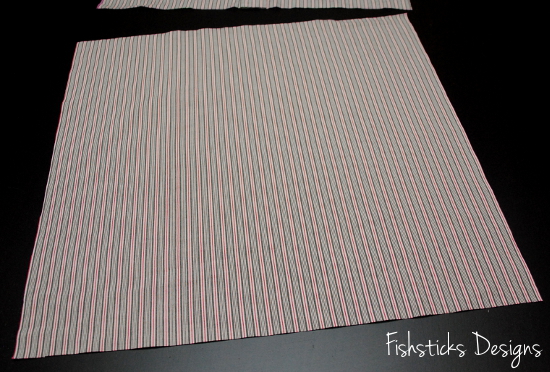 Pin the front and back pieces right sides together.
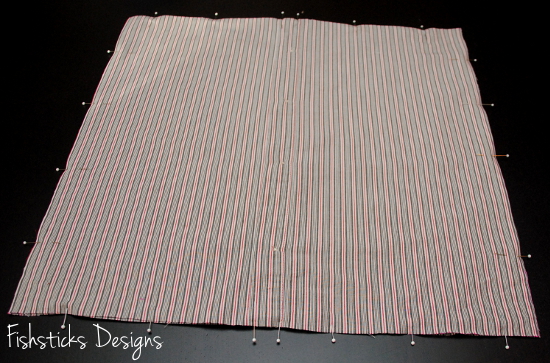 Sew all the way around at 1/2″. I serged the edges after sewing, but since no one is likely to see inside these shams, you don’t really need to.
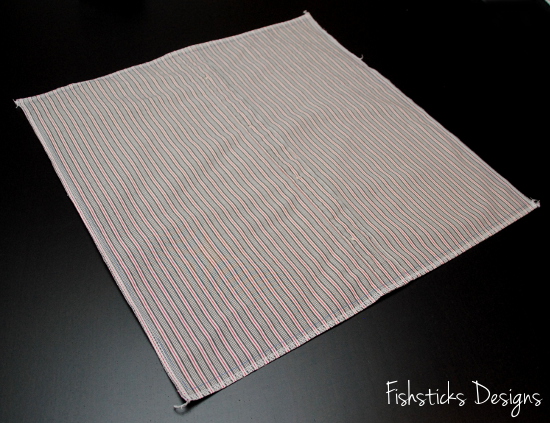 Once the two pieces are sewn together, just reach through between two of the buttons and unbutton one to turn the sham right side out. Push the corners out neatly, unbutton the cover completely, slide your pillow in, button it back up and toss it on your couch!
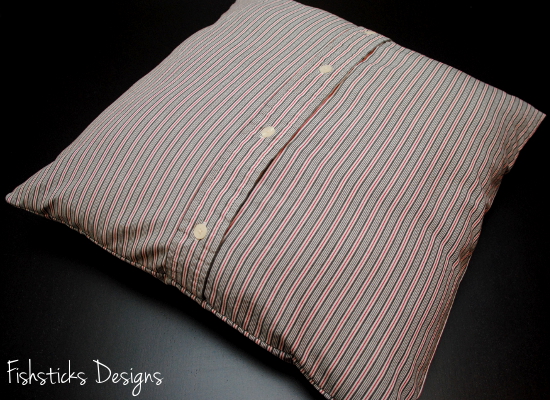

what a wonderful idea ! no zipper or flaps and they come off easily 😀 thanks for sharing !
WOW! Amazing idea…cant wait to try it…..
I made some pillows for the family of a dear friend who passed away. Using his t-shirts, sweatshirts, and polo shirts on the front and dress shirts on the back, I tried to leave the pockets on so the grandkids had a place to store a special object from grandpa.
Oh, what a great keepsake for the grandkids, Kathy! You actually just reminded me that I still have some of my late stepfather’s shirts in a box in my garage. This might be a wonderful idea for them!
What a wonderful idea. So quick and painless but looking a million dollars.
Alexa Blogging and living in Sydney , Australia
Thanks Margaret! That’s a really cool idea. Going to give it a try.