
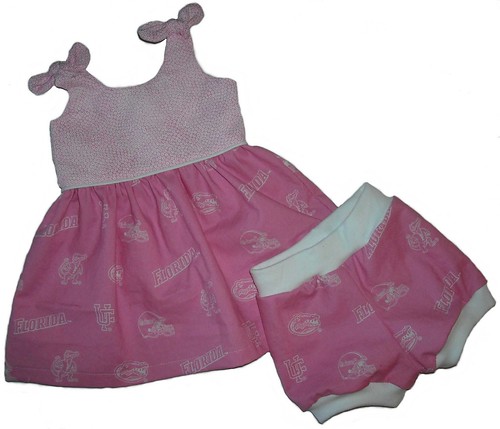
I recently fell in love with the Itty Bitty Baby Dress Tutorial by Rae of madebyrae.blogspot.com. It makes such a sweet little newborn dress! I’ve made a few over the last month. This first one was a gift for a friend who’s a huge Florida Gators fan.
I really like having bloomers to cover baby’s diaper when wearing dresses, though, so I pulled out my AJ Bottoms pattern and got to work on shrinking the smallest size bloomers down to newborn size. I thought I’d share the pattern here with you so you can sew up some sweet baby dress and bloomer sets, too!
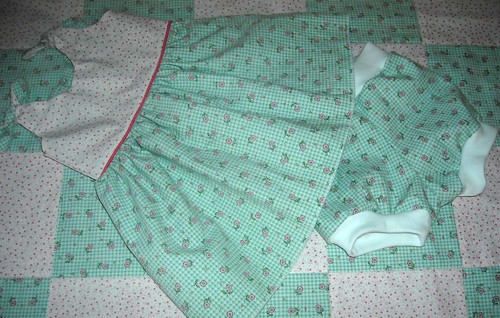
I made this set just last week for my friend, Lisa, who is expecting a baby girl very soon:
These bloomers should fit from newborn to around 12 pounds, and they’re roomy enough to fit over cloth diapers, too!
Before you get started, you’ll need 1/3 yard of woven fabric to match your dress for the body of the bloomers and 1/4 yard of coordinating cotton or cotton/lycra blend interlock for the waist and legbands. I like to use cotton interlock with enclosed elastic for the waistband. My favorite elastic for this use is 1″ plush diapering fold-over-elastic unfolded. It makes a really nice soft stretchy waistband. You could also use a cotton/lycra blend with no elastic or cotton interlock with 1″ pajama elastic. Really, because these bloomers are for a newborn, you might be able to use the cotton interlock without the elastic, but cotton has a tendency to stretch out and lose it’s shape while being worn, so keep that in mind.
Seam allowance is 1/2″ for sewing. Cutting allowance is 1/4″ for serging.
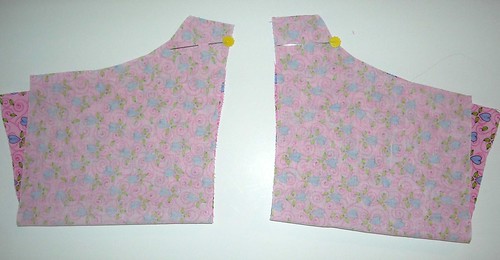
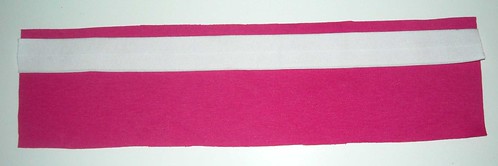
Okay, let’s get started! First, you’ll find the bloomers pattern here: Newborn Bloomer Pattern. Start by cutting out your pieces. Be sure to cut your body pieces in opposite directions. The easiest way to do this is to fold your fabric and cut both pieces at the same time.

Fold each body section over matching up inseam edges and pin.
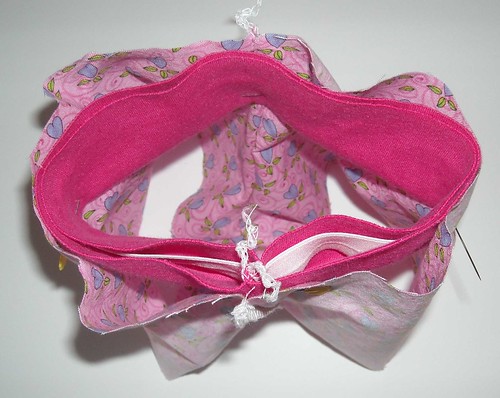
Sew or serge the inseam. Turn one body section right side out and insert it inside the other section so that the right sides are facing. Match up the inseam and the front and back as shown and pin.
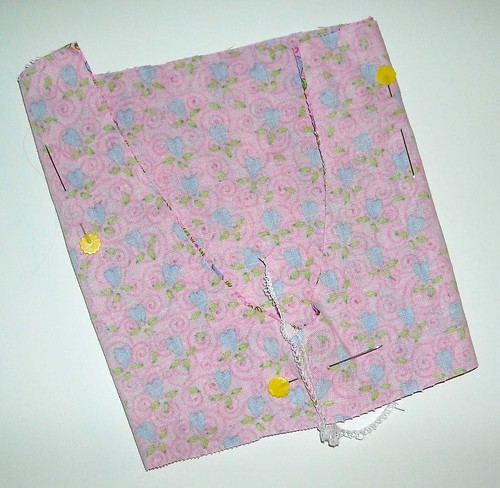
Sew or serge around this “U” shape and open up the body being sure that it’s turned inside out.

To make your waistband with hidden elastic, begin by laying out your waistband and cutting the elastic to the same length. (Remember if you’re using diapering FOE, it’ll stay unfolded.) Position the elastic about 1/4″ from one long edge of your waistband.
Fold the waistband over with the elastic on the outside, match up the short ends and pin.
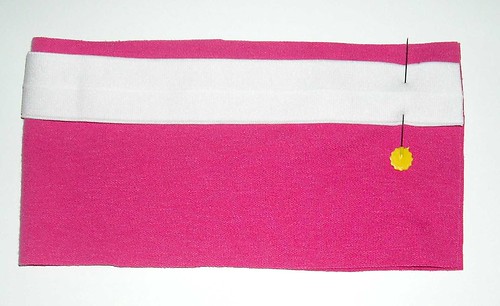
Sew or serge across the pinned edge.
Now fold the waistband over the elastic, as shown, so that the waistband is right side out and your elastic is hidden inside.
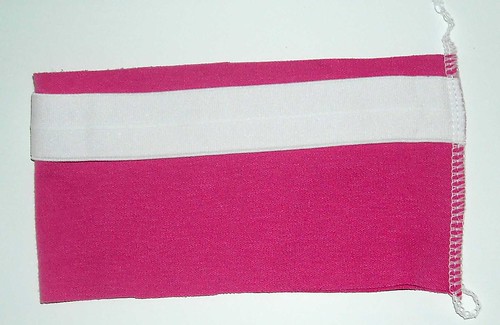
Next, pin your folded over waistband inside the body of your bloomers. Begin by matching up the seam on the waistband with the back seam of the bloomers. (The back of the bloomers is slightly higher than the front.) Then divide the waistband into quarters and pin evenly at the sides and front.
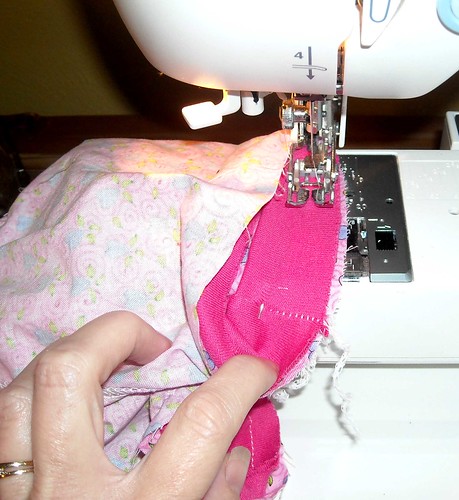
Sew or serge in the waistband. You’ll need to stretch the waistband to fit the body as you go.
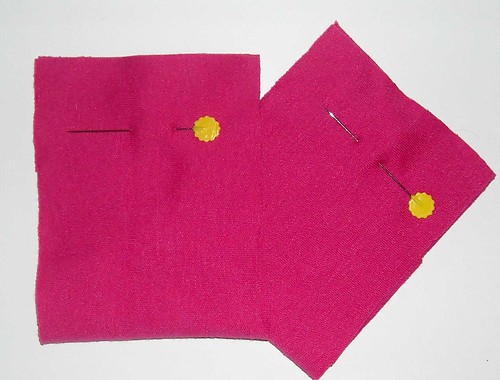
Fold your legbands in half, matching up the short edges.
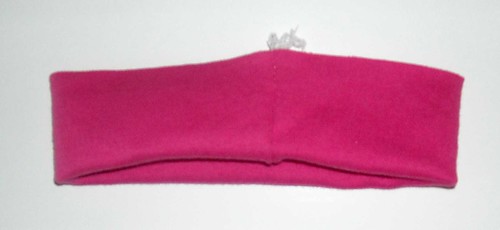
Sew or serge across the pinned edges, then fold over as you did the waistband. With the bloomers still inside out, pin the legbands inside the leg holes, lining up the seams. Divide the legbands into quarters and pin, then sew while stretching to fit, using the same method you used to attach the waistband.
Turn right side out:

Now go sew an Itty Bitty Baby Dress to match!
I love to get your feedback and see pictures of the things you make with my tutorials and patterns. I hope you enjoy this one!

I was wondering if you have made these for boys?
I haven’t made them for a little boy, but I think they’d be really cute with a matching top! You could also extend the inseam and replace the legbands with a hem to turn them into shorts or pants.
thanks, I will have to give it a try.
it is great! I’d have made use of it if I had a baby 🙂 but I’ll keep it.. I still may have a baby gile some day 🙂
Any idea how much bigger to make these for a cloth bottomed 5 month old? I’d love to make some for my niece but she’s on the other side of the world so it’s hard to get the sizing right
you have a website is to provide information on how to design a pattern for the Baby Bloomer
Thank you! This will be perfect for my new baby, if she is a girl!
I just love this pattern, have the doll to make the dresses for. from scraps and now I can make the larger dress to match for a sweet litt red haird girl
I am making these for a gift for a 12 month old and I am not sure ho long of a piece of elastic I should use for the waist size.
I’m sorry. These bloomers are designed to fit a newborn. They are way too small for a 12-month-old.
What’s up to all, the contents existing at this site are
truly remarkable for people knowledge, well, keep up the good work fellows.
Nice information! Thanks for this article