
My friend, Allison, from Alternate Endings put together this simple tutorial for adding feet to the Jamie Jumper, and I asked her if she’d mind letting me share it on my blog. If you’re looking to make footie PJs for your little ones this winter, just grab your Little One Layette or Wee Tot Collection pattern, and check this out!
Turn your Jamie Jumper into Jamie Jumper Footie PJs
Begin by laying out your pattern pieces (except for leg cuffs – you won’t need them) as directed in the instructions, adding 2″ to the bottom of each leg section. Also add at least 2-3 inches to each piece of binding. If it’s too long you can cut off the excess.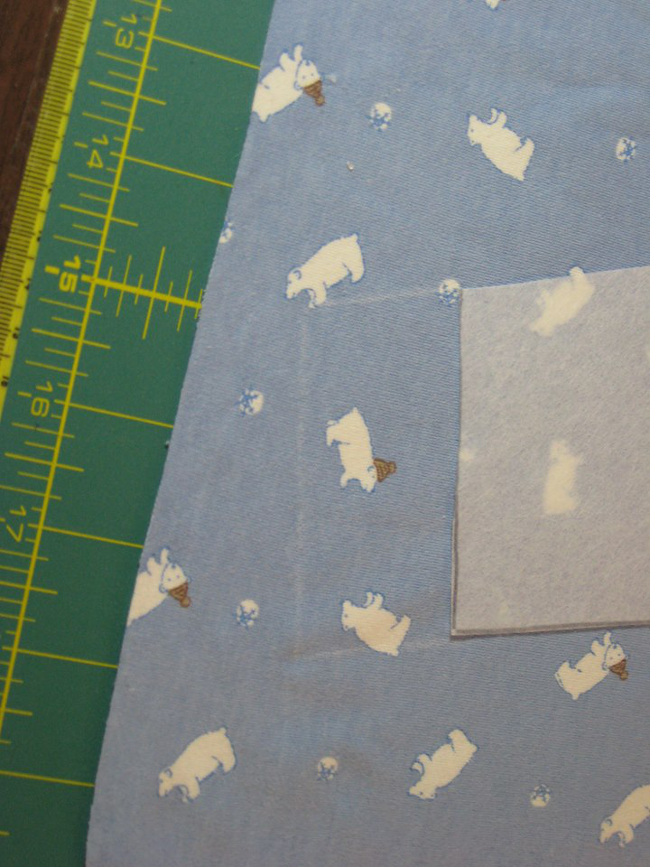 You will also need to cut out pieces for the feet. I used pattern pieces from a different pattern, but you can also use the bottom and top pieces for a soft-sole shoe pattern, or just trace around your child’s foot with these approximate shapes, being sure to give some wiggle room and adding a 1/2″ seam allowance. (The half piece is for the top of the foot, and the whole piece is the sole.) If it fits your baby, it should work just fine.
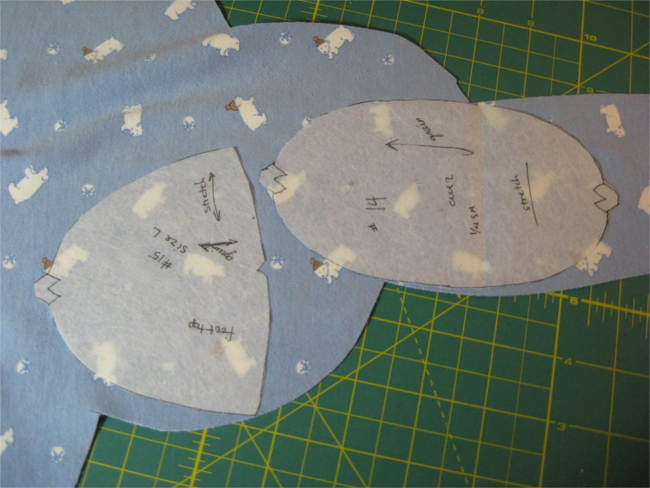 Assemble your Jamie Jumper as usual, leaving off the leg cuffs. And don’t forget to make a few mistakes like I did. You know, things like forgetting to cut the binding an extra two inches longer and having to move the serger next to the sewing machine so you can sew an extra strip of binding on without having to remove the garment from the serger. Please make that mistake. It will make me feel so much better.
After the JJ is assembled, you need to cut a rounded “V” shape onto the bottom front of each leg – approximately 1″ wide and 1-1/4″ high. Round the pointed part a bit.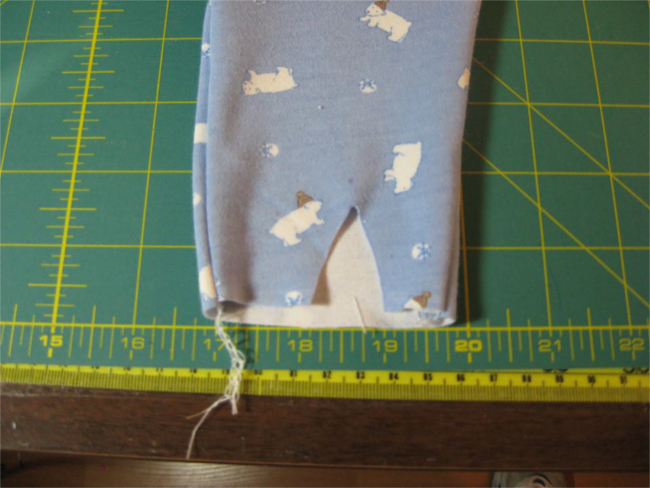 When you make the V for the side with the ribbing/binding, be careful not to cut it too close to the ribbing. Leave about 1/4″ between the ribbing and the V so you have room to attach the foot pieces.
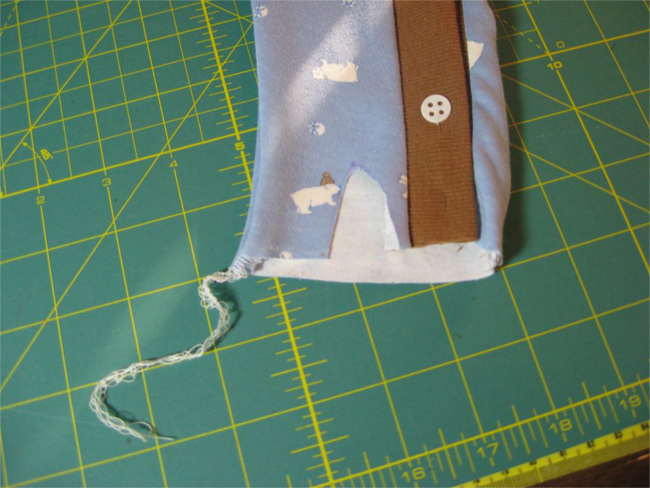 Attach the top part of the footie to each “V”, right sides together. Match the middles and sides. You will probably have to stretch the V a little to make it fit.
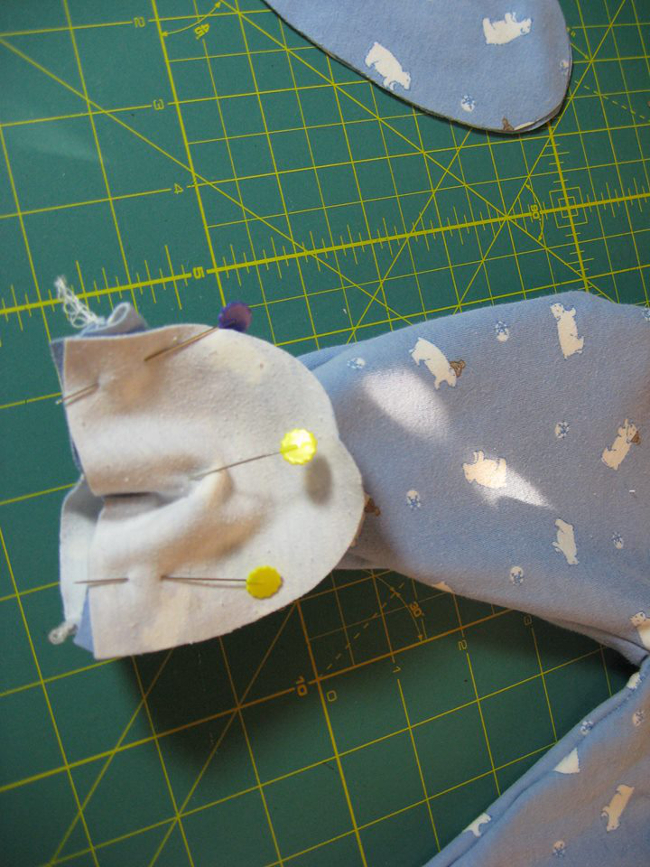

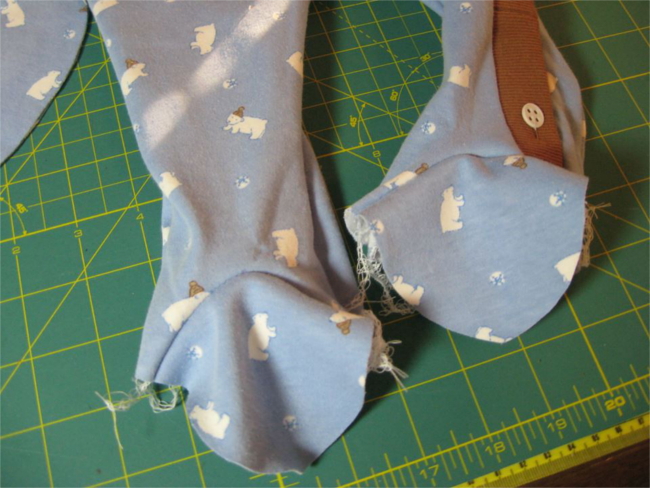 After you have attached the top portion of the footie, turn your JJ inside out and attach the bottom part of the footie to the bottom of the Jumper, right sides together. Match ends and sides. You will probably not need to stretch anything for this to fit – unless you have a very large-footed kid.
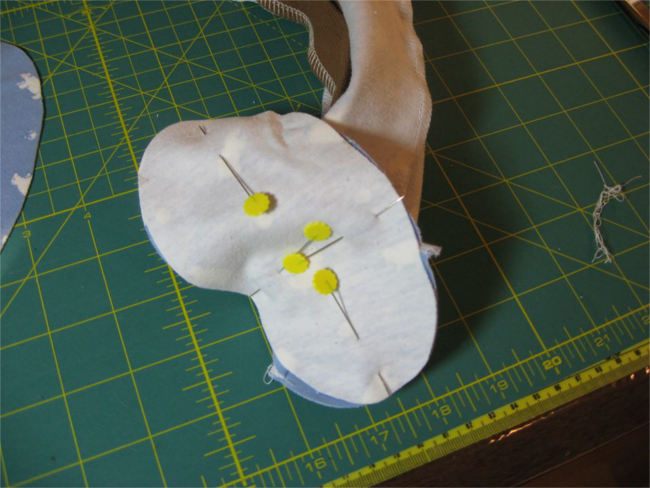
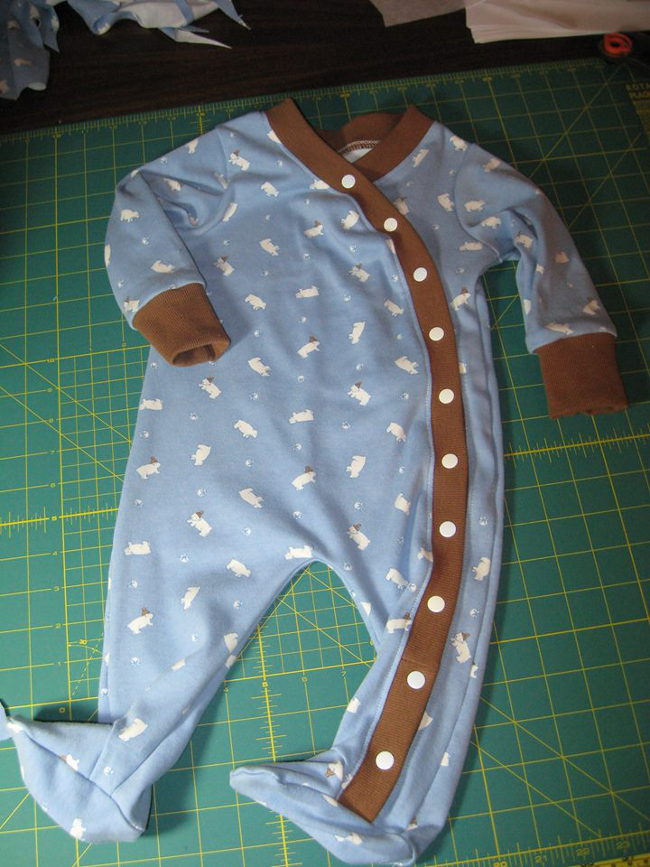
 Turn garment right side out, admire your handiwork, and finish jumper as directed.
Tutorial by Allison Sanders Morton.
Shared with permission.


This is excellent! I definitely need to make the baby some footed jammies now! Thank you 🙂
STOP! before you get rid of this post Google is actually rewarding you for the traffic you are attracting.you may not comprehend this fact but comment and URL posted on your site will help us both improve our Search engine performance. Some people call it spam but Google is looking at all that traffic coming to your site and is actually rewarding you by upping your search engine position. Google is thinking you must be important. Take a look at your stats and you will see what I’m talking about.