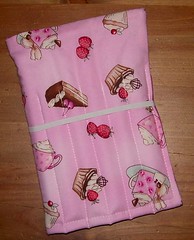
 I sold these from my Hyena Cart last year and thought mamas might enjoy making them for their own children this year. It’s a just a slightly different take on the colored pencil roll-up. This one fastens with elastic which is much easier for little hands than a ribbon that needs to be tied. It also hold a 3″ X 5″ doodle pad which I buy in packs of 12 at Staples for $4.99: Doodle Pads. These art kits are great for carrying in the diaper bag to keep little hands busy while you’re waiting at the doctor’s office or your favorite restaurant. They’re also great for coloring in the car since colored pencils are less messy than markers and won’t melt like crayons.
Start with the cotton woven fabrics of your choice. You can do the front and back in the same fabric, in a print and a solid, or two coordinating prints. For the hidden inner fabric I like to use a layer of fleece, but you can use quilt batting or, for a thinner version, a piece of cotton flannel. Be sure to prewash your fabrics so that your art kit will be washable when you’re all finished.

Cut your fabrics into three rectangles, measuring 15 1/2″ X 13 1/2″. If you’re using a directional print, you’ll want the design to go across the shorter measurement.
STEP 2
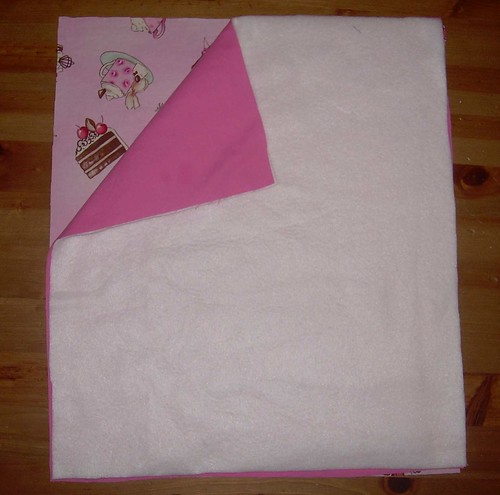
Ready your fabrics for sewing by placing your cotton wovens with the right sides facing and the hidden inner fabric on top.
STEP 3
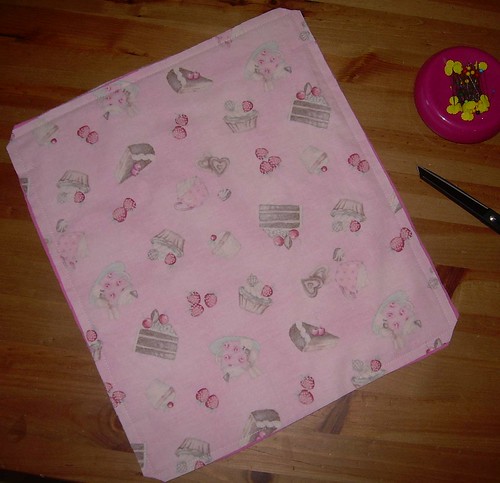
Stitch around the edges using a 3/8″ seam allowance and leaving a 3″ opening in one of the short edges for turning. Clip your corners, then turn right side out, pushing your corners out until they’re as square as possible. (A clean chopstick works great for this. In my house, we call them “corner-poker-outers”.)
STEP 3
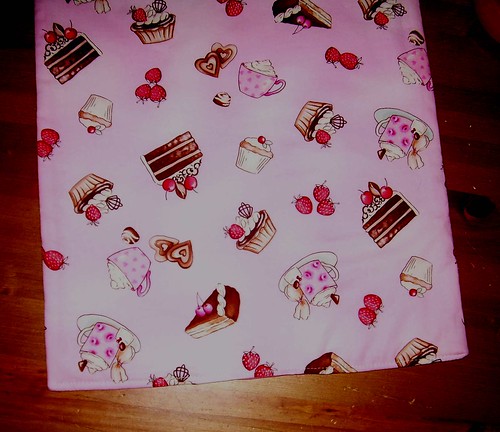
Topstitch at about 1/8″ across the short edge that you left open for turning, closing the hole.
STEP 4
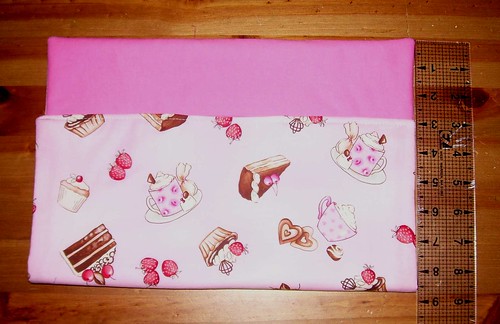
Fold the topstitched edge up as shown to 3″ below the opposite edge and pin.
STEP 5
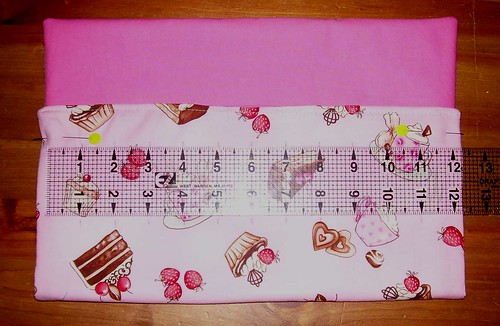
Mark the middle of your art kit, then mark at 1″ intervals across. You should have a total of 11 markings. I use disappearing ink so that I don’t have to worry about cleaning it off later, but you do have to work quickly so that it doesn’t disappear before the next two steps are completed.
STEP 6

Draw in the lines for your pencil pockets at the 11-1″ intervals you just marked.
STEP 7
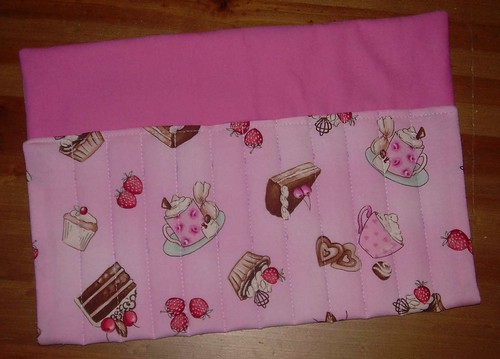
Stitch down each line, backstitching at the top and bottom to lock in your stitches.
STEP 8

Cut two pieces of 1/4″ elastic, one 5 1/4″, one 11 1/2″. Pin the shorter piece across the pencil pockets beginning at the first stitching line on the right and ending at the fifth line from the right as shown. Fold the longer piece to form a loop and pin between the two layers of fabric on the left-hand side of the art kit leaving about 1/2″ inside the the two layers.
STEP 9
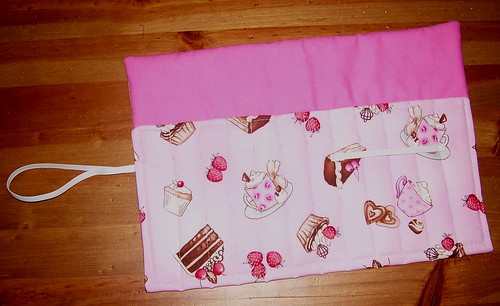
Stitch across the ends of the shorter piece of elastic following your previous stitching lines, backstitching and forward-stitching several times to keep it secure. Then topstitch at 1/4″ beginning on the right at the top of the pocket section, continuing around the bottom and up to the top of the pocket section on the left, securing the elastic loop inside, being sure to backstitch at the beginning and end and over the elastic loop to keep it secure with heavy use.
STEP 10
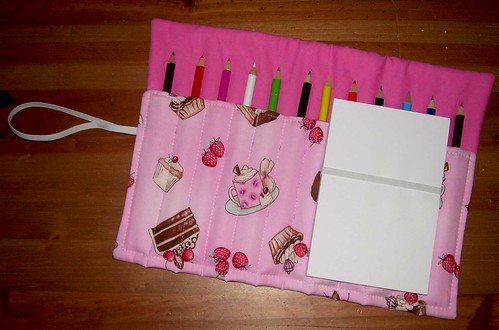
Add your pencils and doodle pad and ENJOY!


I was just telling my mom today that I would like to learn how to make one of these. Thank you.
http://www.sewingsister.blogspot.com
How absolutely fabulous!! I love it and I know exactly who could use it!!! Thank you!
Not so long ago I stumbled across your site and have been following along steadily. I decided I would write my opening comment. I dont know what to write except that I have really enjoyed perusing. Cool site. I intend to keep coming to this site now and again. I have also subscribed to the rss feed to get any updates.
OHH! This is perfect for Church activities. Thank you!
Love your blog! I bookmarked it a while back and keep coming back to check out your tutorials! The instructions are quick, easy and witty and I thought it was about time I said so 🙂
Love the tutorial! Simple and easy to understand. I will be changing to this pencil version, as the crayon one is exactly like you said, more of a mess, and always looking for them. Thank you for taking the time to post.
I’ve seen a lot of versions of this projects but I like yours most, its fits our family better I should say. Thanks so much!
THANK YOU for this tutorial!! My daughter is going to LOVE this!! Also-I really enjoy using the patterns I have bought from you!! 🙂
Thank you for an easy but very effective pencil roll tutorial.
love this – will be making it tomorrow to take to my grandson