
The stockings are hung by the . . . well, we don’t actually have a chimney, so they’re hung in the dining room from the quilt rack.

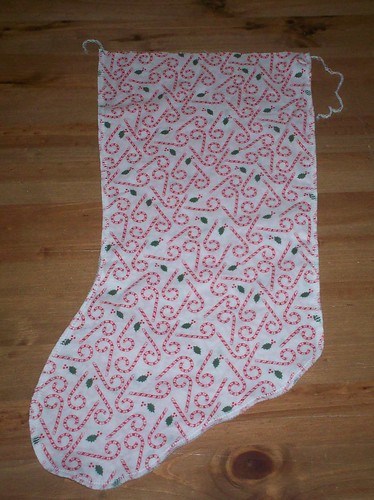
I sewed these stockings up last year so that we’d all have nice coordinating ones, and I thought I’d share my pattern and instructions with you. I love the simple design, and the size, in my opinion, is perfect. They’re big enough to hold a DVD or video game but not so huge that you have to spend your whole Christmas budget on stocking stuffers.
For each stocking, you’ll need 1/2 yard of print woven fabric for the body, 1/4 yard of fabric for the top (velvet works beautifully) and ribbon for hanging. The body pattern can be found here. When you print, be sure that the “Fit to page” option is not selected. The pattern will print in two pages which you should butt up against each other to make a complete pattern. 1/2″ seam allowance is included.
STEP 1
Cut out your pieces. You’ll need to cut two body pieces from the pattern linked above in opposite directions. For the top of the stocking, you’ll need to cut two 17″ X 3 3/4″ strips.

STEP 2
Line body pieces up with right sides facing and sew or serge using 1/2″ seam allowance around all sides except the top.
STEP 3
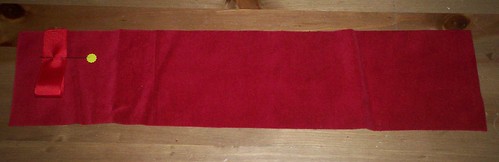
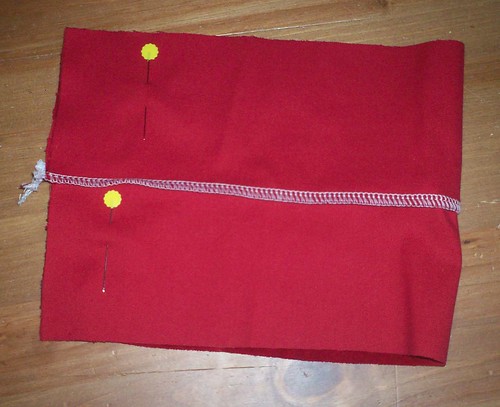
Cut a piece of ribbon to 5 1/2 inches. I used 1″ grossgrain ribbon for ours. Pin the ribbon on the right side 1″ from the end of one of your top strips as shown.
STEP 4
Line your second strip up on top of the first strip with right sides facing and sew or serge along the edge where the ribbon is pinned, securing the ribbon inside.
STEP 5
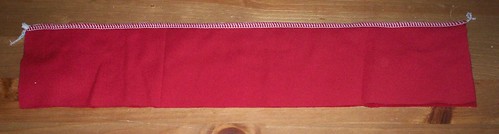
Flip your two strips apart exposing the ribbon inside.

Fold over, matching up the short ends and sew or serge across the short edge.

STEP 6
Fold the finished top piece right-side out as shown, being sure that the ribbon is now at the back and on your left hand side.

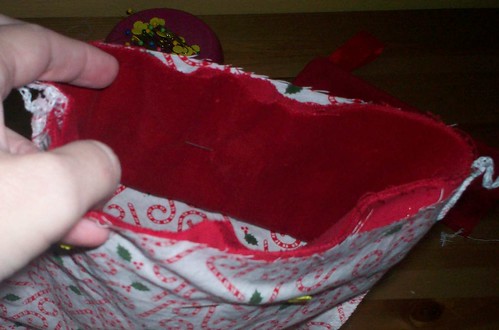
STEP 7
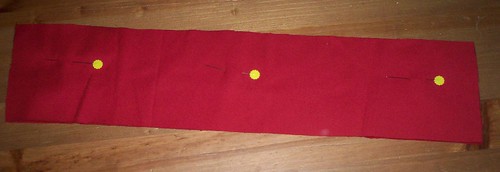
Now pin the top of your stocking upside down inside the two body pieces which are still right-sides facing, as shown. Match up the seam on your top piece with the seam on the heal side of your stocking.
STEP 8
Sew or serge around the raw edges, attaching the top to the body of the stocking.
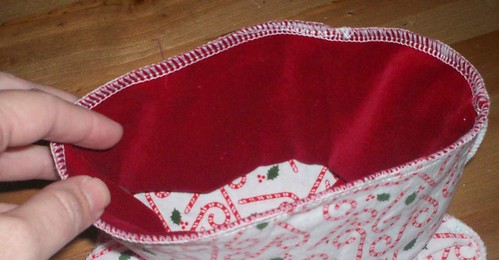
STEP 9
Flip the top out of the stocking . . .
. . . and turn right-side out.
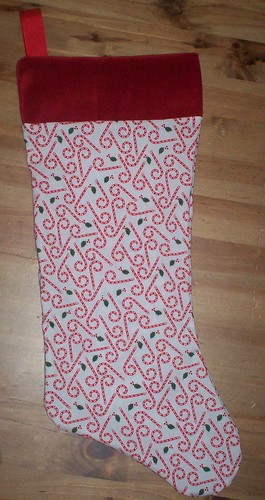
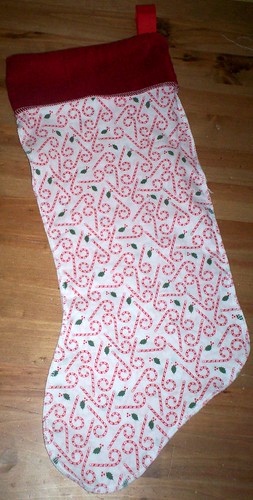
READY FOR SANTA!
Please let me know if you have any questions, and I’d love to hear if you use this tutorial to make your own stockings!
