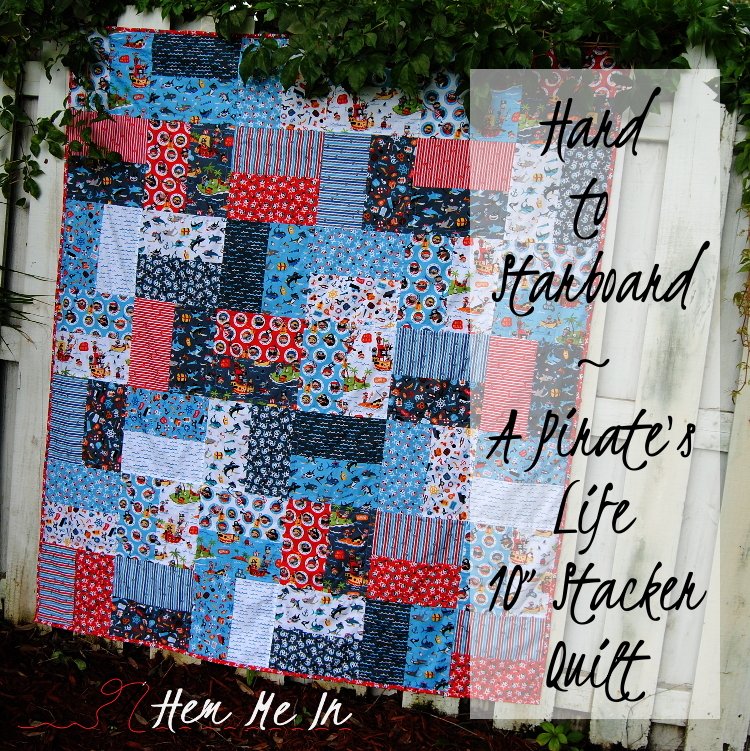
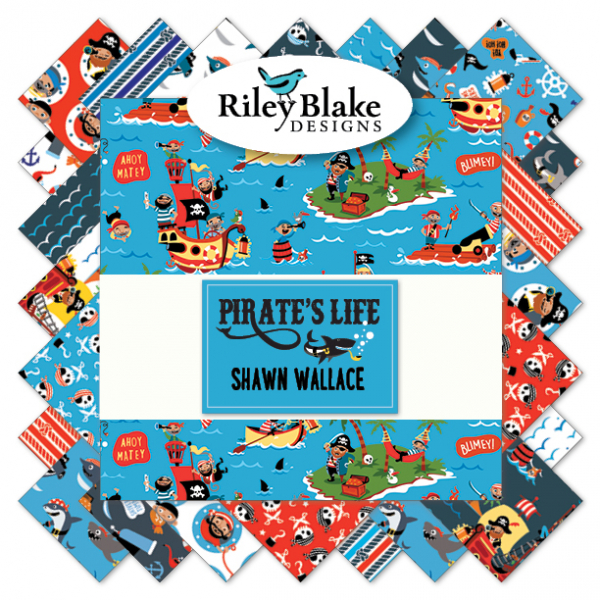
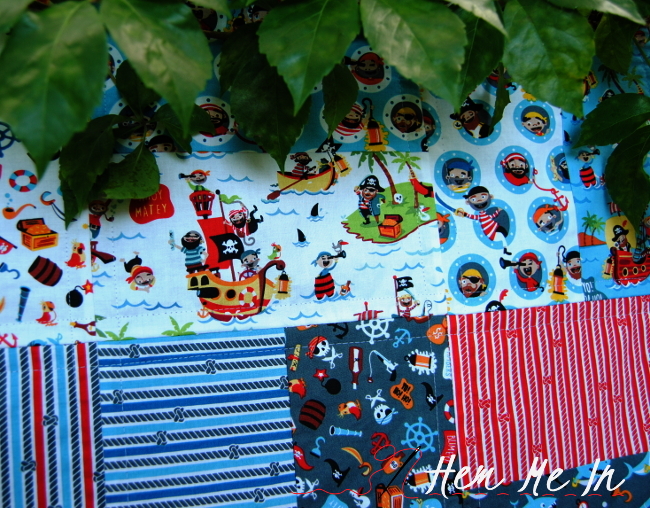
I’m getting an early start on Christmas gifts this year!! Woo-hoo! First on my list is a quilt for my kindergartener, Ollie. Shawn Wallace’s new fabric collection, Pirate’s Life, from Riley Blake Designs is swashbucklingly perfect!
We adopted Ollie last summer, exactly 2 ½ years after we became his foster family. We have a family tradition of choosing a “code name” for the children that we’re fostering to use on social media. It protects their identity, and they always seem to think it’s fun! Ollie’s code name was Cubby, after Cubby from Jake and the Neverland Pirates, and he loves pirates, especially cute, fun pirates like these!
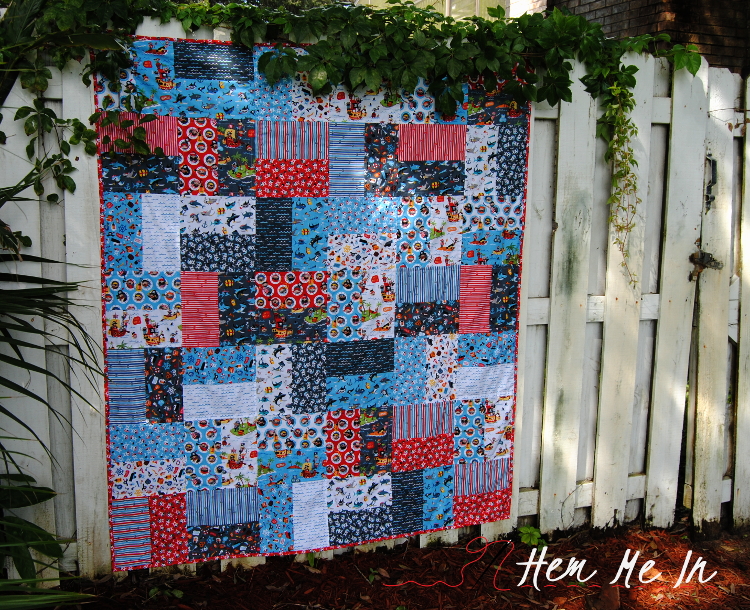
I wanted a simple quilt to showcase the fabric nicely, and I appreciate that this was a fast finish! I wrote a quick tutorial in case you want to try it out. I’m calling it “Hard to Starboard” since the fabrics start one direction, then rotate hard to starboard and back again!
I created a 10” stacker to make this quilt but you could much more easily start with a 10” stacker! I had 20 of the fabrics from the collection, so I started with 2-10” squares of each fabric plus 1 additional 10” square from two of the fabrics so that I had a total of 42 squares.
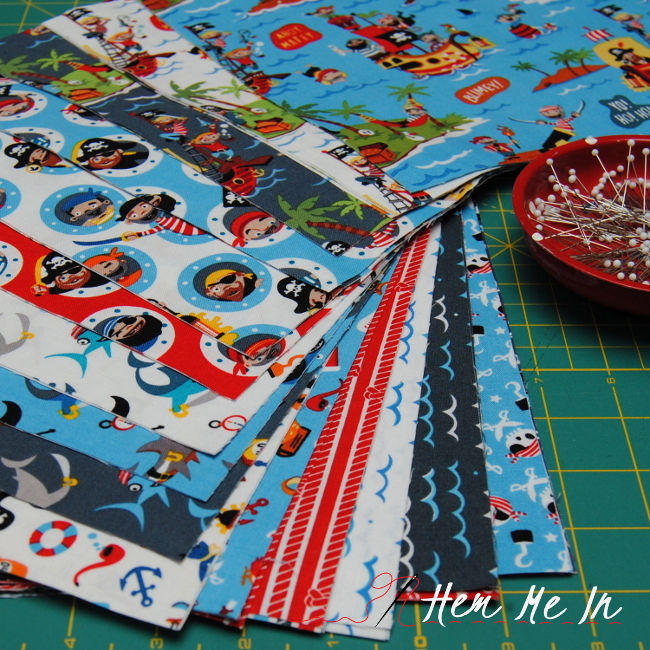
I cut each square in half. With each of the directional fabrics, I cut one square vertically and one square horizontally. When I got to the fabrics that had three squares, I cut two vertically and one horizontally.
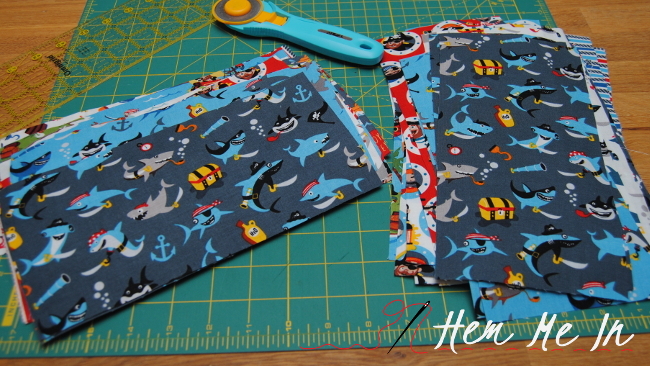
I sorted the strips and arranged them in stacks which I numbered from one to 20, placing the triple fabrics in positions 7 and 8.
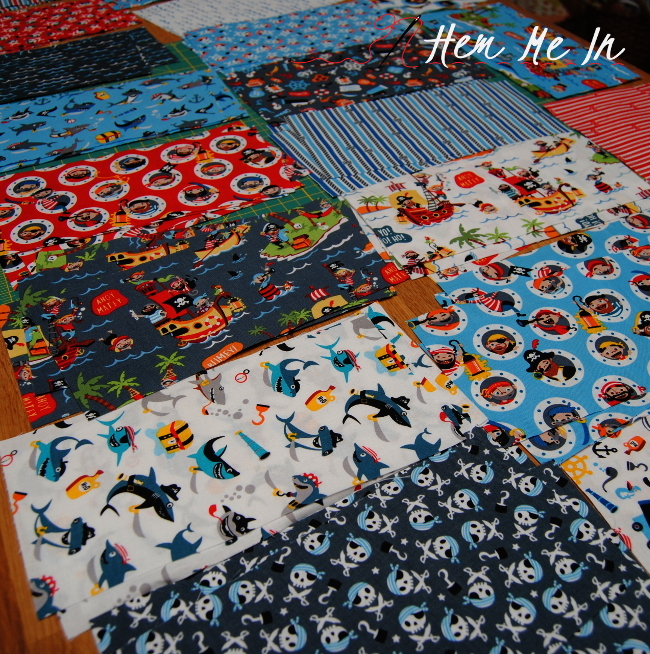
It took a few tries before I came up with a layout that kept everything positioned correctly and neatly arranged. Here’s my final layout:
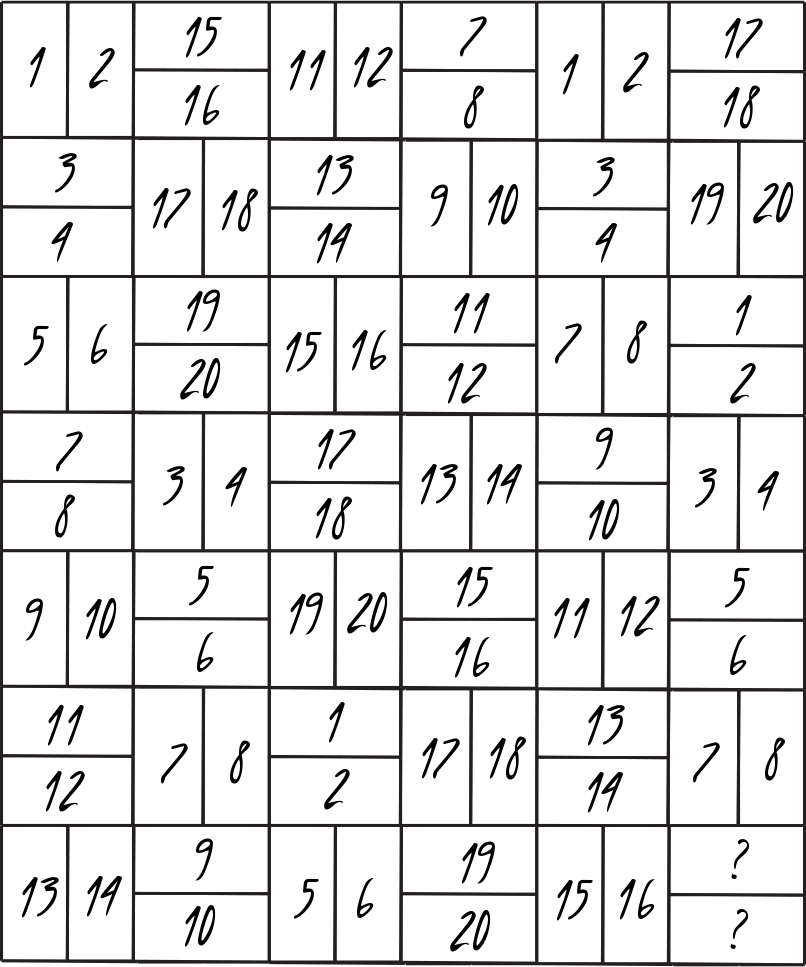
I placed all the pieces in order on the floor so that I could get a good look at the layout. That bottom right square that has the question marks would have been the final numbers 7 and 8 which doesn’t work because it would be a side-by-side repeat, and because my 7 and 8 were directional, they were turned the wrong direction.
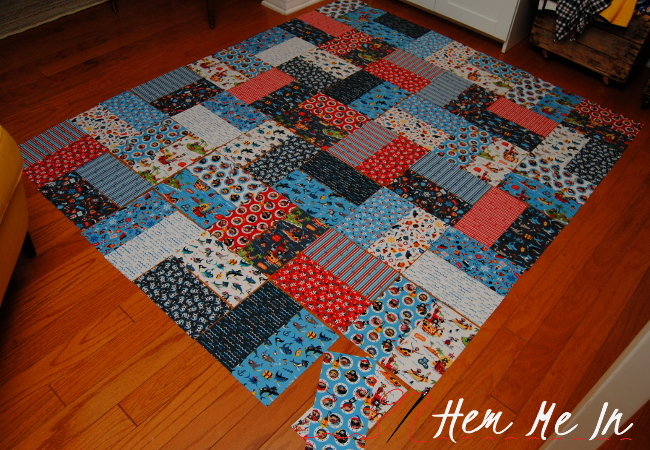
I just looked around the layout until I found a block that I could switch out.
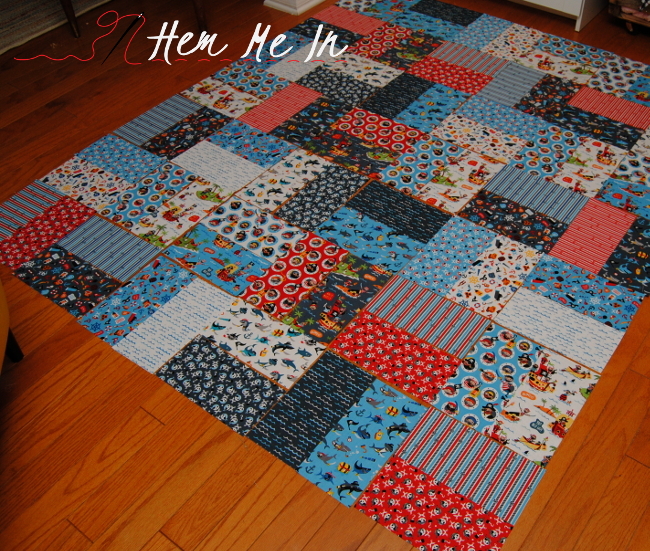
Once I was happy with how it looked, I stitched each pair of strips into a block, pressed the seams toward the darker fabrics, and trimmed each block to 9 ½” x 9 ½”.
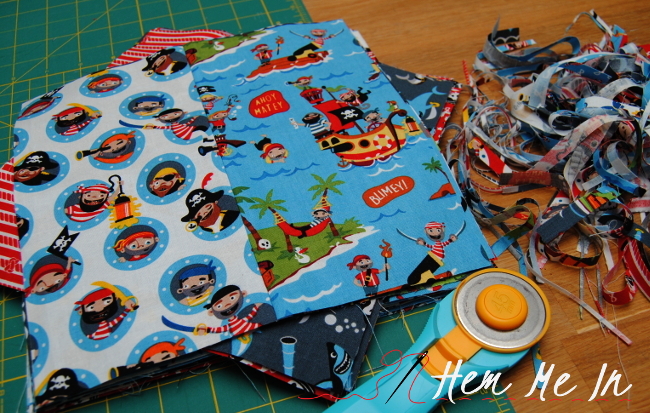
I sewed the blocks into strips and pressed the seams of each row in opposite directions. I always press the seams of my odd numbered rows toward the beginning of the row, and I press the seams of my even numbered rows toward the end of the row. This allows me to nest my seams when I pin the rows together, and nested seams make for beautiful corners!
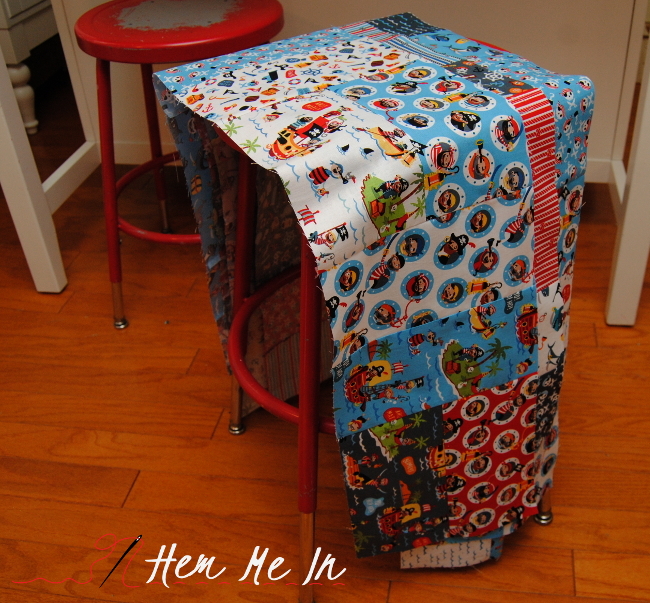
Finally, I sewed all the rows together!
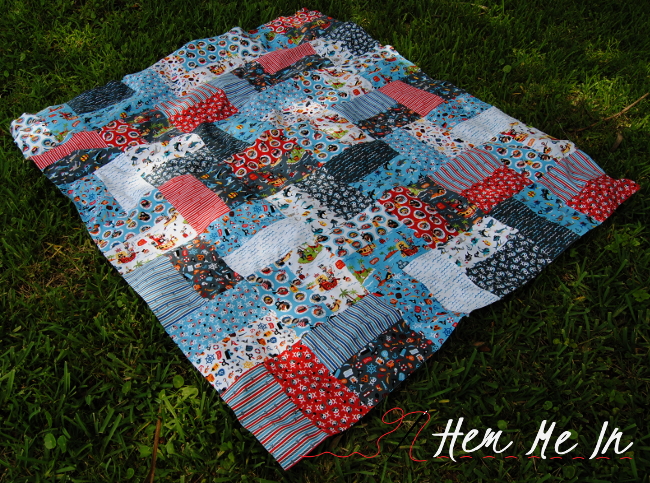
I finished this quilt with Riley Blake’s Dreamy Minky and no batting. I love love love quilts done this way for my littles because they’re warm and soft, but they fold up compactly for travel!
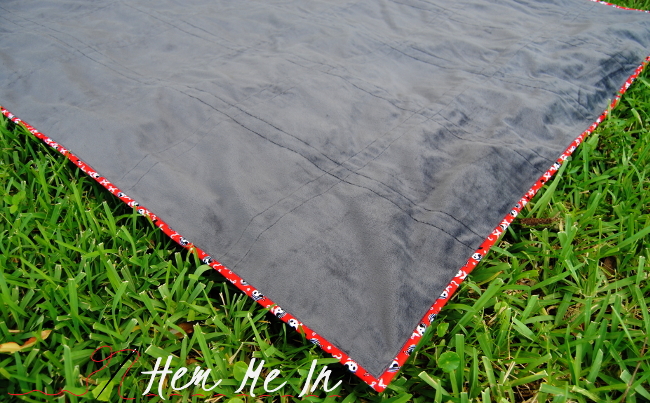
I machine quilted in straight lines ½” on either side of each block vertically and then horizontally.

Finally, I used skulls and swords in red for binding. I machine stitched it to the back and front.
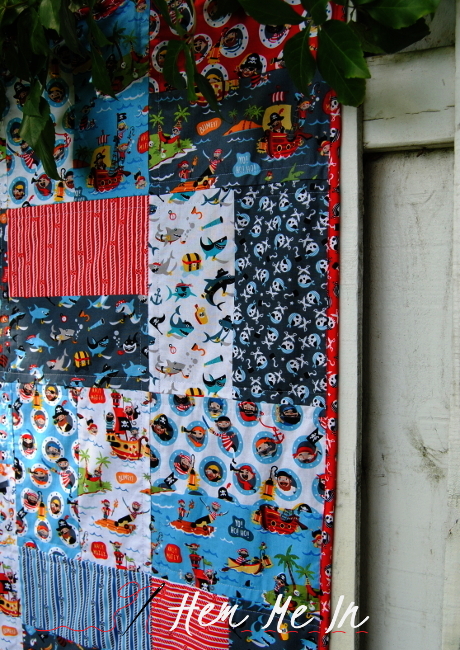
I’m super excited to have a Christmas gift ready already! I’m hoping I’ll stay motivated (and find the time!) to get more handmade gifts done this year.
Because my sewing studio is just off of our living room, my little guy has been watching me work on this. Every time he asks what I’m making, I say, “A treehouse,” and he asks, “With a ladder?” I’m not sure if he thinks I’m actually making a treehouse from fabric or not, but I’m hoping that he’ll forget about this “treehouse” enough that he’ll be surprised on Christmas morning! I’m sure that he’ll love it regardless!


I’ve a little man who is going to love this. Thank you so much for figuring out an adorable layout for the rest of us.
Hi, I have a question about an older post and would love for you to email me if possible
Hi
we are wecareyourmeds we provide you medicines online in usa
My brother recommended I would possibly like this web site.
He was totally right. This publish actually made my day.
You can not believe simply how a lot time I had spent for this info!
Thanks!