
My second Handmade Holiday idea for 2014 is this Lego on-the-go Travel Bag! This tutorial originally appeared on Today’s Creative Blog in July of 2013 as part of their Celebrate Summer Series, but it’s a great gift idea, too … says the mom who has stepped on a billion and one Legos in the middle of the night. It’s a good thing to give those little things their own special storage space!
This is a great way to give second-hand or thrifted Legos. Stitch up this zippered bag, fill the main compartment with bricks. Grab a Lego building book, like this one – just make sure the book is no bigger than 10″ square – and slide it into the front pocket!

Okay, let’s get started! Remember that if you want to print the tutorial, there’s a “print friendly” button at the very end of the post that will let you choose what portions of text and which images to print.
This is really a quick and simple project, even if you’ve never sewn a zipper before. (You really need a zipper for Legos. Those tiny blocks escape from drawstrings and velcro far too easily!) Here’s what you need to get started:
1/2 yard each of an outer and a lining fabric
3/4 yard of your front pocket fabric (or 1/2 yard, if your fabric can be cut across the grain)
1 yard of fusible interfacing
1-12″ or longer zipper
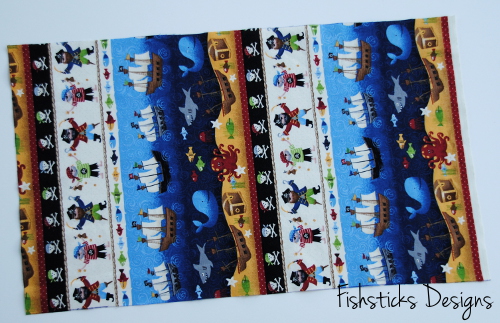
Start by cutting out your pieces. You’ll need two 13″ squares for the outer bag, two 13″ squares for the bag lining, one 4″X14″ strap piece, two 1 1/8″x3″ pieces for the ends of your zipper and one 13″x22″ pocket piece.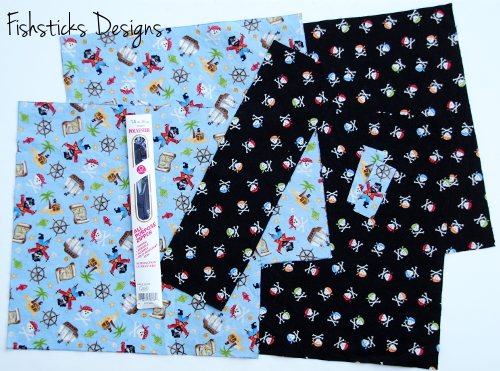 If you’re cutting a striped fabric for your pocket, or if you just want to position a certain image on the front pocket, the top of your pocket will fall 11″ above the bottom edge. (I left a bit of the selvage on mine so that the red dotted line would fall right at the top of my pocket. The selvage was smaller than my 1/2″ seam allowance, so it ended up hidden inside.)
 Iron interfacing to your two lining pieces and your pocket piece.
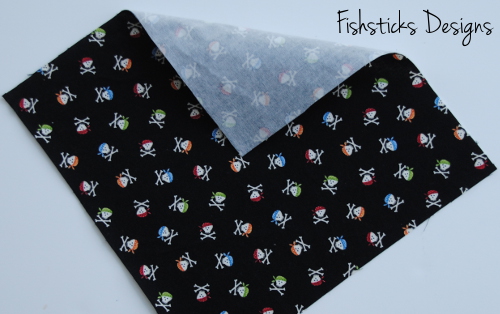 Fold your pocket piece over and match up the short edges. Press well along the fold. Line the raw edges of the pocket up with the sides and bottom of one outer piece. Baste in place 1/4″ from the edges.
 To prepare the strap, fold and press the strap piece in half the long way with wrong sides facing.
 Unfold, then fold each long edge into the middle and press again.
 Fold in the center again and press.
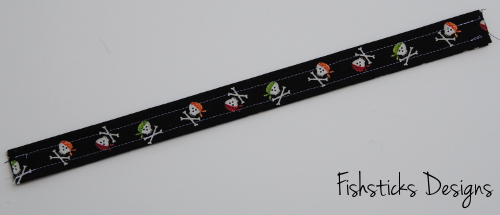
 Topstitch each long edge at approximately 1/4″.
 To prepare your zipper, pin one of the 1 1/8″ X 3″ pieces of fabric with right sides facing at the top end of the zipper, as shown.
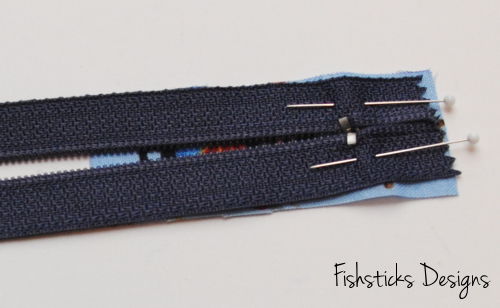 Stitch across, just to the outside of the zipper stop. (Be careful not to hit the metal piece with your machine needle.)
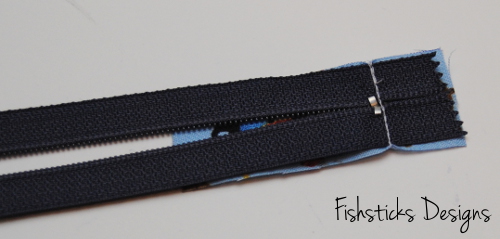 Fold the fabric out at that end of the zipper and lay it out flat with the top facing you. Measure 12″ from the short end of the fabric and trim your zipper at that point.
 Line your second 1 1/8″ X 3″ piece of fabric up at the opposite end of the zipper and pin with right sides facing. Sew across 1/2″ from the end, backstitching and forward stitching a few times to secure the end of the zipper. Fold the fabric out.
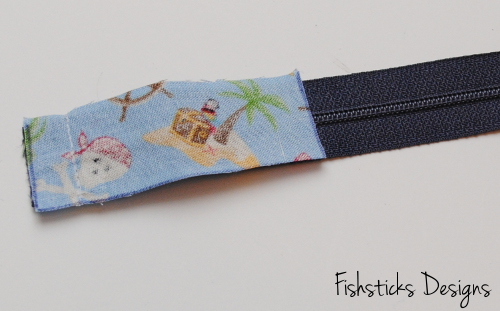 Trim this full zipper section to 13″, evening up the two fabric end pieces.
 To begin assembling the bag, lay one of your outer pieces of fabric out with the right side facing you. Center your zipper on top with the right side down and raw edges lined up.
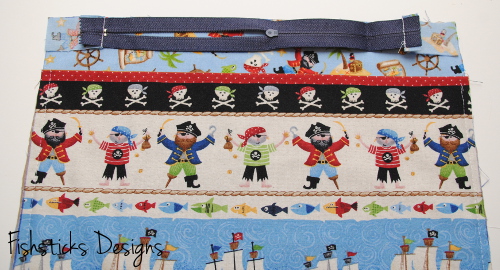 Lay one of your inner pieces on top of the zipper with the right side facing down. Line up the raw edges, and line up the inner piece with the outer piece under it. Pin in place. You should now have a “sandwich” with your outer fabric on bottom, zipper in the middle and inner fabric on top.
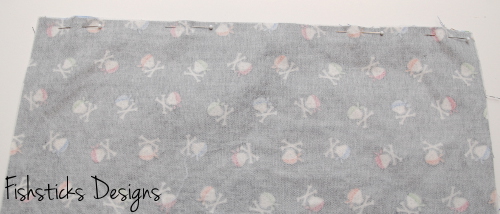 Sew in your zipper now using a zipper foot. Position your needle so that it falls 3/8″ from the raw edge. Sew to just before the zipper pull, backstitch, remove the fabric from the machine, and pull the zipper pull past where you’ve already sewn. Start stitching agan just before where you left off and stitch all the way to the end.
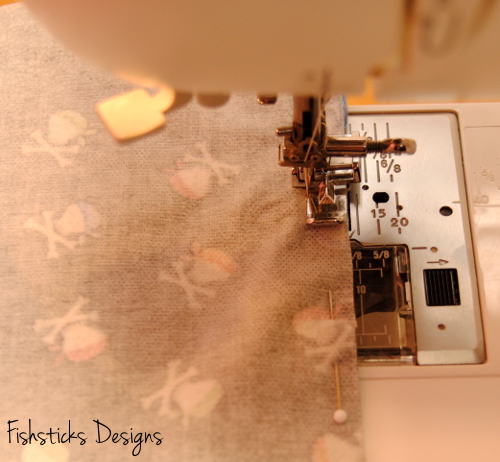 Flip the front and back pieces over so that they are wrong sides together and the unattached side of the zipper is now at the top.
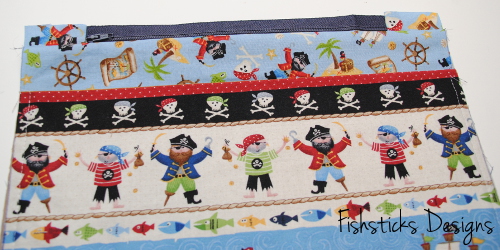 Repeat the process above to attach the other outer and inner layers of fabric to the opposite side of your zipper. (Place the zipper face down on the right side of the outer layer, then place the inner layer on top so that the right sides of the inner and outer are together. Sew in the zipper.) Now your bag should look like this when it’s layed out flat:
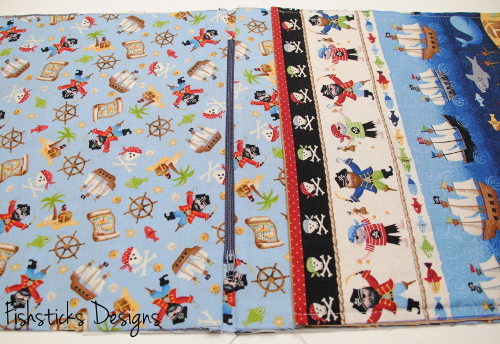 Press the fabric away from the zipper on the front and the back. (Be careful to keep the iron away from the zipper teeth. They will melt!) Topstitch each side of the zipper. Sew to the zipper pull, put your needle down, lift your sewing machine foot, pull the zipper pull past the foot, put the foot back down and continue sewing.
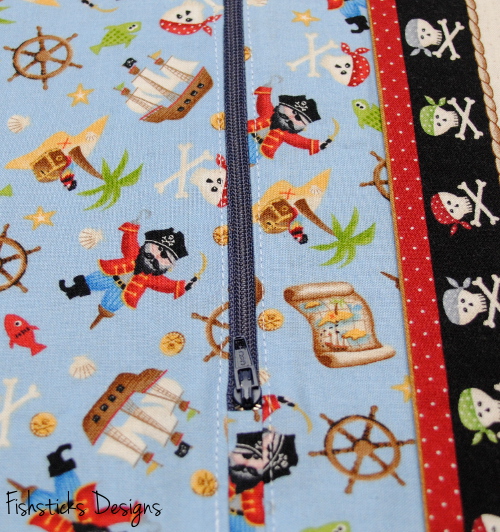 Fold handle in half and line up raw edges about 1/2″ below the top of the pocket. Angle the handle upward slightly, and pin it to outer layer of fabric only. Stitch at about 1/4″, backstitching and forward stitching to reinforce.
 Open your zipper all the way up. Don’t forget this step, or you won’t be able to turn your bag right side out! Flip your inner and outer pieces towards each other, lining them up with right sides facing, like this:
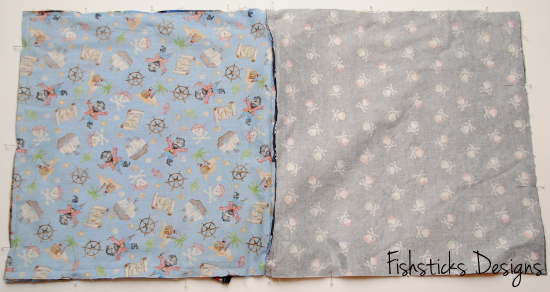 Pin fabrics in place like this. At the zipper, you’ll have a bit of extra fabric. That fabric should be folded towards the inner side of the bag.
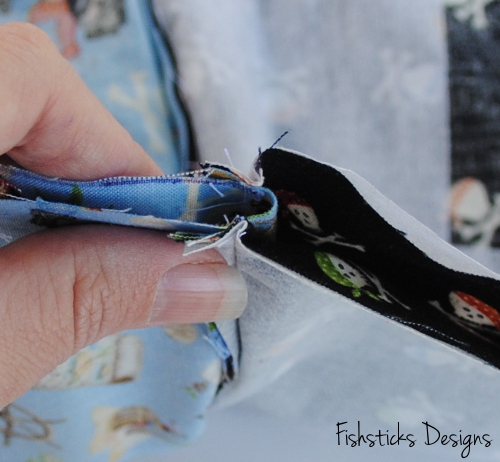 Begin sewing your pieces together about 2/3 of the way across the bottom of the inner pieces. Sew all the way around the big rectangle, 1/2″ from the edges, forward and backstitching a few times across the handle to secure it well. Leave about a 3″ opening in the bottom of the inner pieces.
 To form the bottom corners on the outer bag and the lining, measure and trace a 1 1/4″ square on each of the four corners.
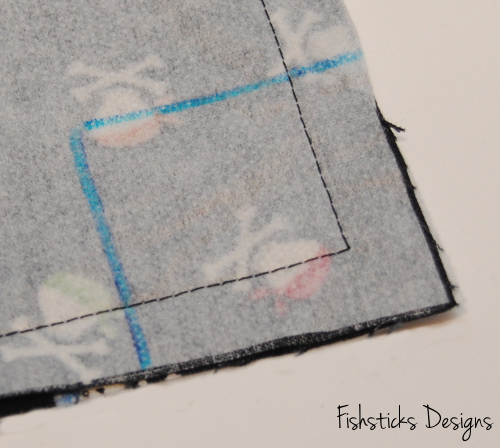 Cut out all four corners.
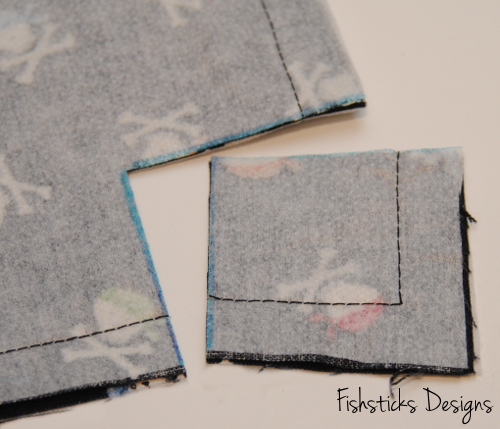
 Pinch the corners and match up the bottom and side seams. Pin in place.
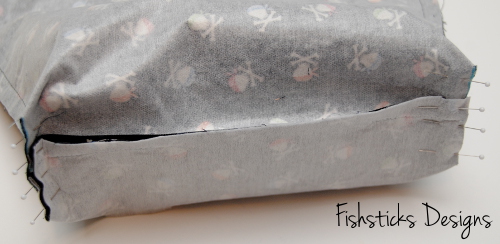 On the outer bag, be careful to push the pocket pieces to the front side of the bag. The front side of the bag will have the pocket’s basting stitches.
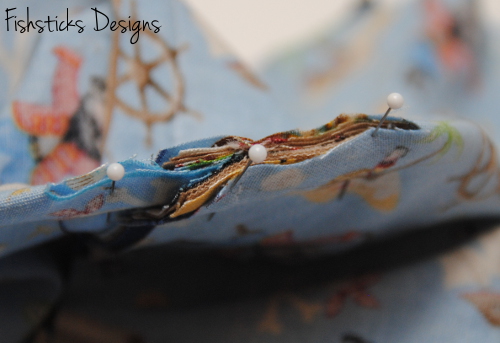 Stitch each corner 1/2″ from the raw edges.
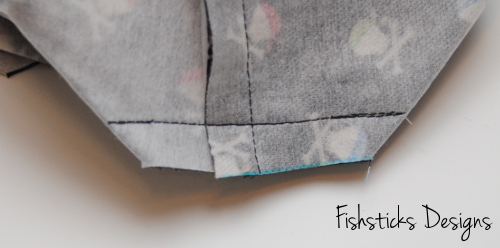 Turn the bag through the opening and then through the zipper. Push the lining down into the outer and check to make sure that everything looks as it should.
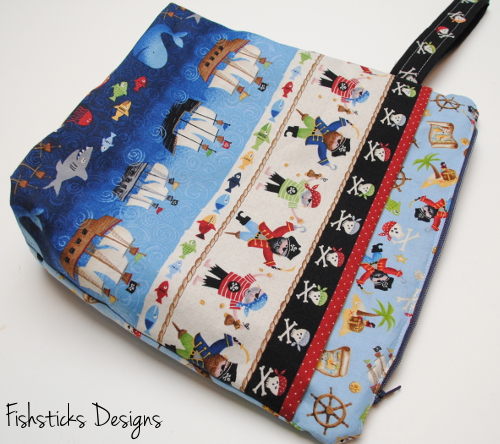 If everything looks nice, pull the inner back out. Pin and sew the opening closed.
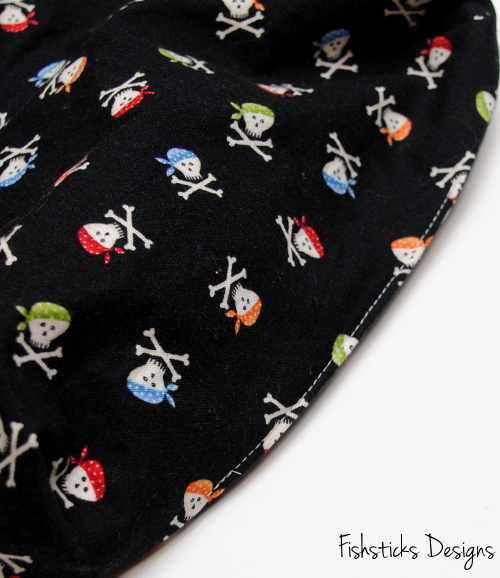 Now you’re ready to fill it up!
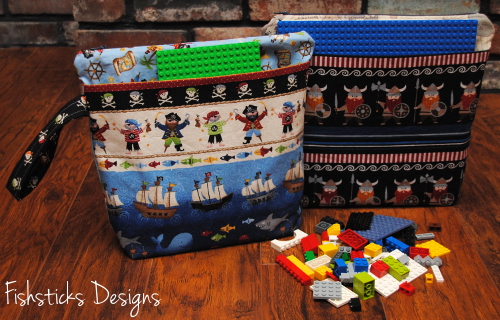
 The front pocket will hold a 10″x10″ base plate or several smaller ones. The inside will hold plenty of Legos to keep a little one content for quite some time!


Hi!
What fabric is this? It’s adorable! Thanks so much for the tutorial! I’m making them right now for my twin 4 1/2 year old boys.
Have a good day!
Carrie
Thank you, Carrie! It’s an out-of-print Makower UK fabric called “Pirates”. I found a few yards still available in a quick Etsy search, though: https://www.etsy.com/search/supplies/fabric?q=makower+pirates
Thank you so much!!