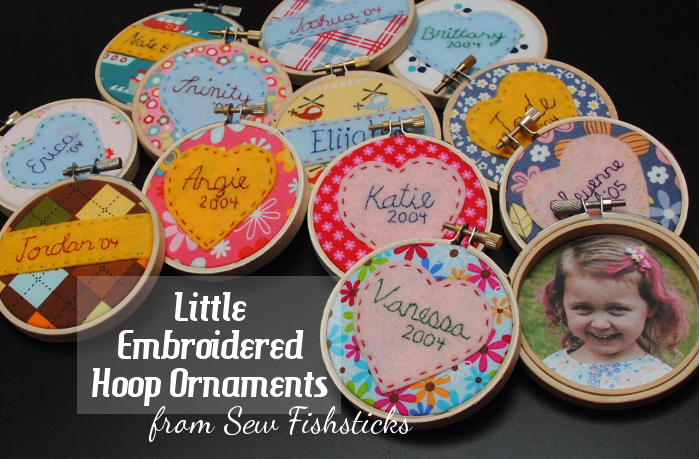
 This is my favorite of the projects that I completed this Christmas because these ornaments hold such special meaning for our family! I’m so excited to share it with you! A little over eleven years ago, my husband and I attended an orientation meeting for prospective foster parents here in Florida. We had four children at the time, ranging in age from 13 to 4. Since Florida only allows foster families to have a total of five children in their homes, we wondered if we really could make a difference. We felt like God was calling us to do this, though, so we began the process to become a foster family. We were licensed in June of 2004, and our first placement – a newborn baby girl, straight from the hospital – arrived a day later. That little one stayed with us just a few months, but she became a forever part of our family’s history. She was followed by twelve more little ones, all age 6 and under who came into our home for long and short periods of time, each one finding a forever place in our hearts as we poured ourselves into their lives and their families’ lives while working together to support them through reunification or placement with relatives. In November of 2006, we said good-bye to our last foster daughter, just weeks before we left for a new job in Texas.
We talk often of the children that we loved so much, and each one had an impact on each of us. While we were still licensed, I began to make ornaments for our Christmas tree with pictures of each child who had stayed with us and their names. They were cheesy foam ornaments, but it became a special tradition each year for us to pull those ornaments out one-by-one, look at the photos, recall the memories of each child and take time to pray for every one. Those ornaments were starting to come apart after so many years, and I thought I’d take some time this year to make new ones. When I ran across this post at Sew Mama Sew: Little Hoop Ornaments, I knew I’d found the perfect one! I set about making each ornament. When I finished, I emailed Megan at Lilac Saloon to ask permission to share a tutorial, and she enthusiastically encouraged me to do so!
The names on these ornaments are those of the children who lived with us while we were foster parents, but the photos are not. We feel comfortable sharing their names since they are all very common, and it’s been ten years. We would never share their photos publicly, though, without their parents’ permission. The ornament that I’m showing in this tutorial is actually one that I made for our granddaughter, Katie.
Ready to get started? Here are the things that you’ll need: 3″ embroidery hoop (I purchased hoops at both Joanns and Michaels. Both cost around $1.29. The hoops from Michaels, though, are much nicer quality.)
light colored felt
a scrap of fabric at least 4 1/2″ square
lightweight fusible interfacing the same size as your fabric
embroidery floss
embroidery needle
tacky glue
glue stick (not pictured)
Frixion pen (recommended) or washable marker (not pictured)
To add a photo to the back, you’ll also need:
a photo that is at least a tiny bit bigger than 3″ square
optional: clear Contact paper or laminating sheets
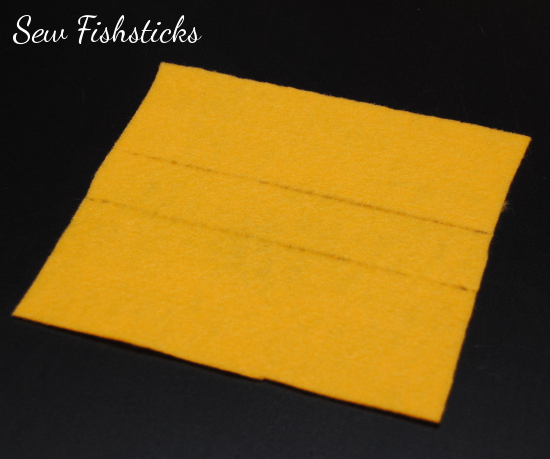
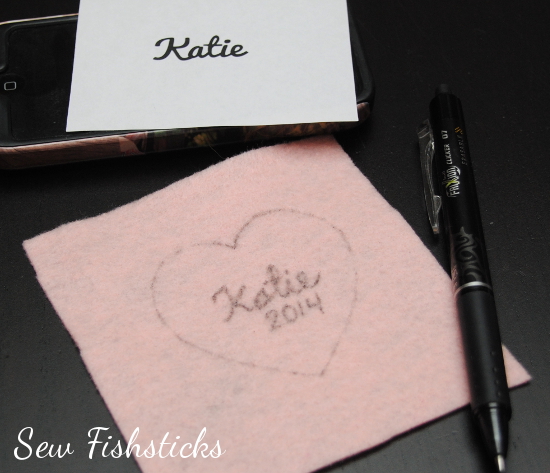
Cut your felt into a roughly 4 1/2″ square. For the heart-shaped applique, print this template. Cut around the heart template and trace it onto the center of the felt using a washable marker or Frixion pen. For the center-stripe applique, use a ruler and washable marker or a Frixion pen to draw a 1″ stripe down the center of the felt.
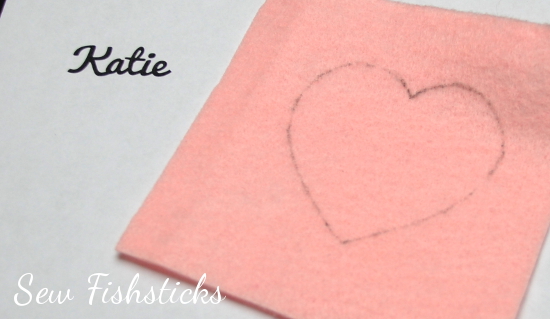
 If you have nice handwriting, you can freehand the name, but I found that I got a much nicer result if I chose a font that looks like handwriting, then printed and traced the name onto the felt before embroidering. For this name, I used Pacifico. You may have to play around a bit to find the right size because it will be different depending on the font you choose. Once you have your font chosen, print the name on regular 20# white paper.
 To trace the name onto the felt, you’ll need a light source of some type. I just used my iPhone because it worked and it was handy.
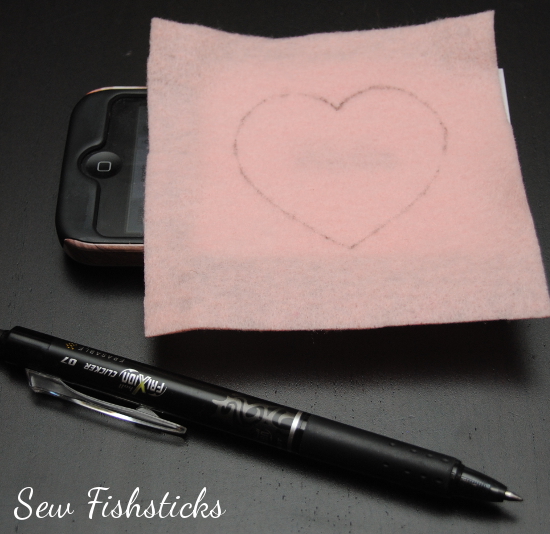 Just place your printed name on the light source, layer your felt on top and trace! I highly recommend using a .7mm or .5mm Frixion pen in black or dark blue for this step. After tracing the name, I wrote the date freehand just under it.
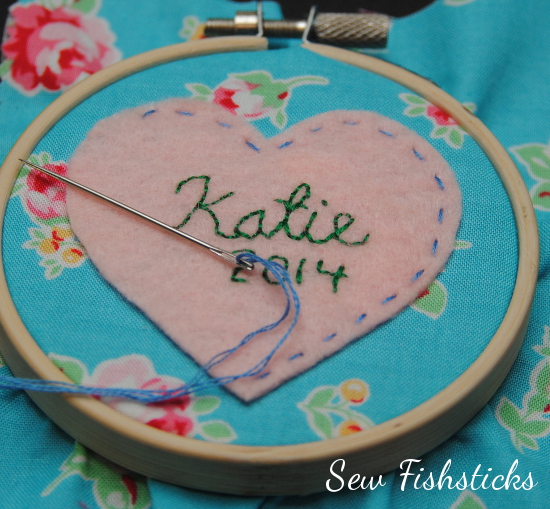
 Place your felt piece in the 3″ hoop and hand embroider the name and date.
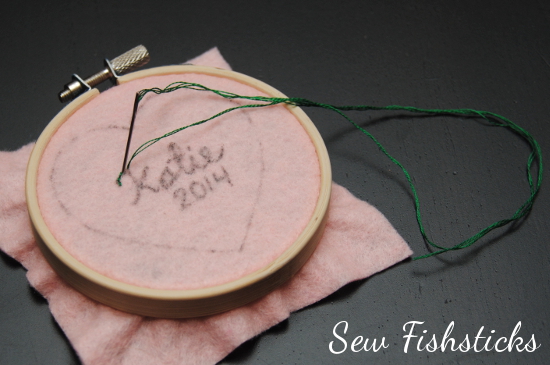 If you’re a beginner at hand embroidery, check out these tutorials from Needle ‘n Thread: Hand Embroidery: Lettering & Text.
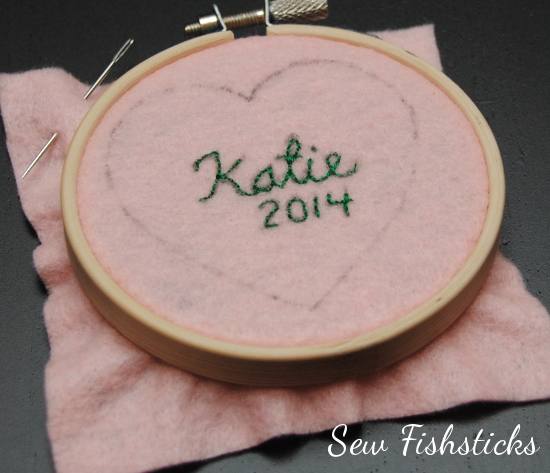 Remove your embroidered felt from the hoop and check to see if the name is still centered. If it’s not, just re-draw your heart or stripe so that the embroidery is centered properly.
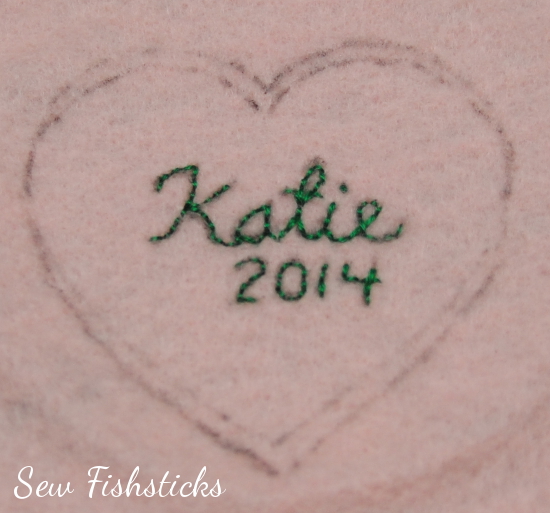 Cut out your heart or stripe.
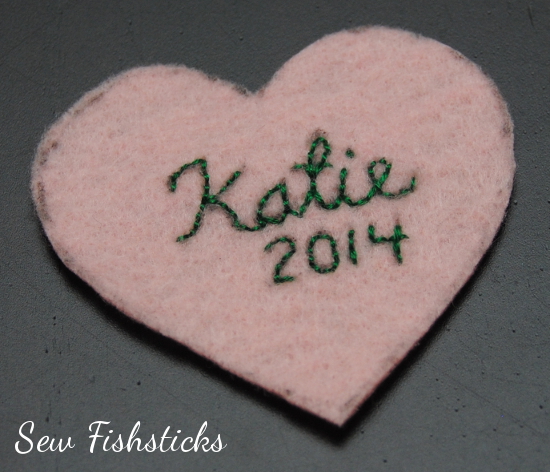 If you used a Frixion pen, place a scrap piece of cloth over the felt and iron to remove the pen marks.
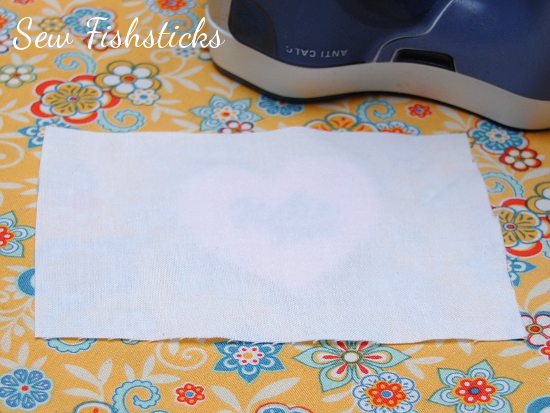 If you used a washable marker, rinse your felt under cold running water and hand press between the layers of a clean dry dish cloth to squeeze out the extra moisture.
 Iron the fusible interfacing to the back of your fabric.
 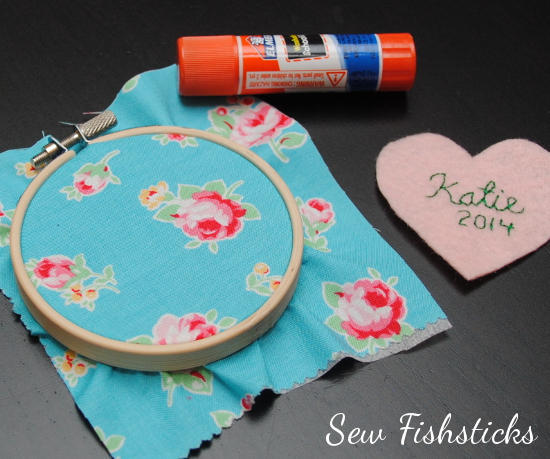 If you’re making a center-stripe ornament, use a glue stick to secure the stripe before putting the fabric into your hoop. If you’re making the heart appliqued ornament, secure your fabric into the hoop, then use the glue stick to adhere the heart to the center of the fabric. (The glue stick won’t secure the felt permanently. It will just hold it in place while you embroider around the applique.)
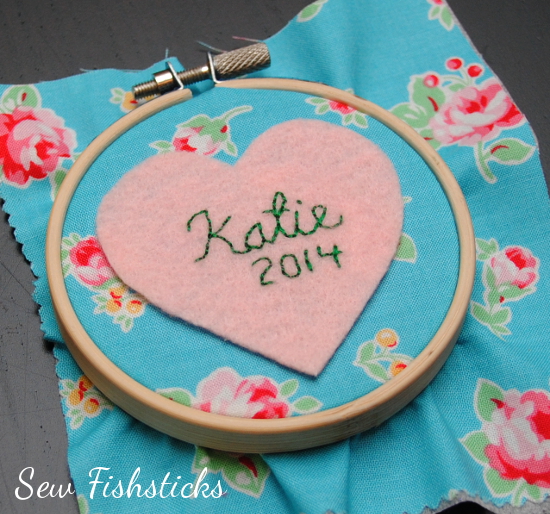 Use a running stitch to embroider around the heart or along each long edge of the stripe.
 Once your embroidery is done, flip the hoop over so that you can see the back and use a washable marker to trace around the edge of the overhanging fabric. (Don’t worry too much about ink getting on the hoop. You can flip the back piece of the hoop around the other way so that the ink won’t show in the final step.)
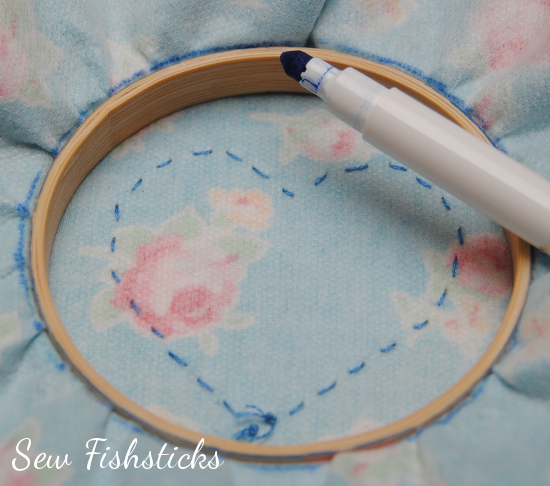 Remove the fabric from the hoop.
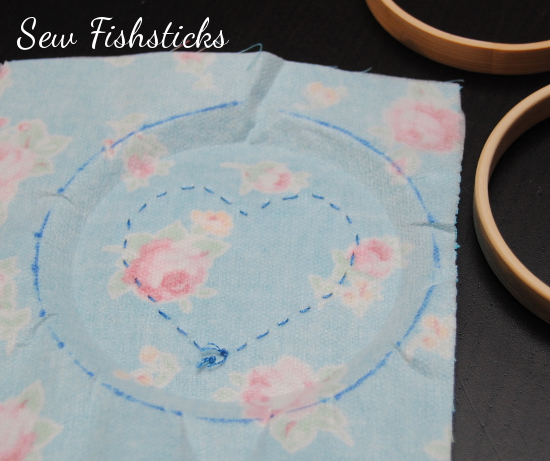 Cut about 1/16″ inside the circle that you just traced.
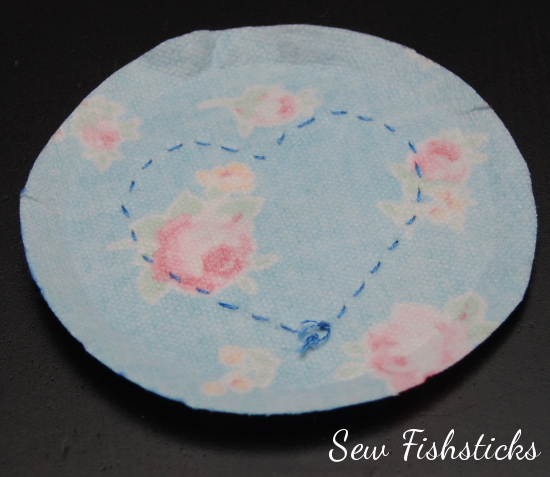 If you’re adding a photo, get the photo ready. If not, skip down a couple of steps to secure the fabric permanently in the hoop.
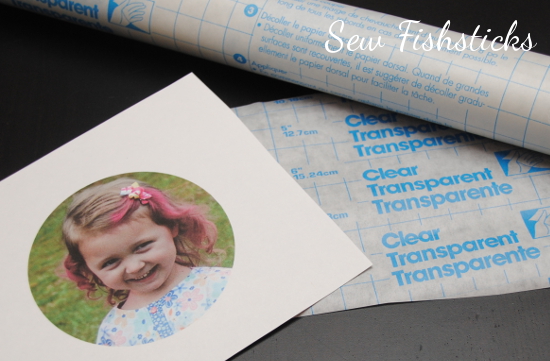 Laminate your photo or apply clear Contact paper to the front of it, if you’d like. Place the back piece of the hoop on the photo with the picture centered and trace around the outside. (If you got ink on the back part of the hoop before, be sure to trace around that same side of the hoop so that you can hide any ink from this step inside, as well.)
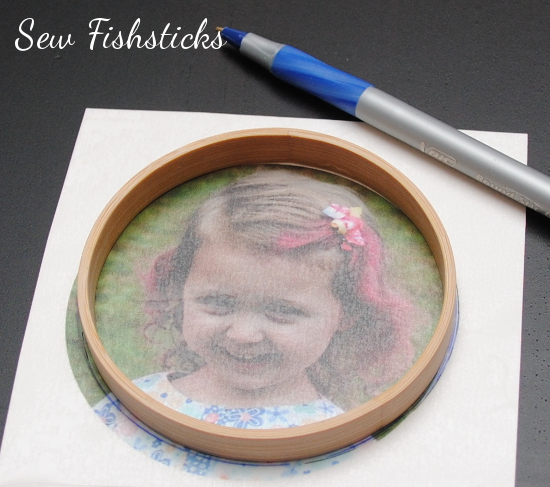 Cut your photo out just inside the circle you just drew. Place the back of the hoop on top of the cut-out circle and check to make sure that the hoop covers the outside edges of the circle with no edges overhanging.
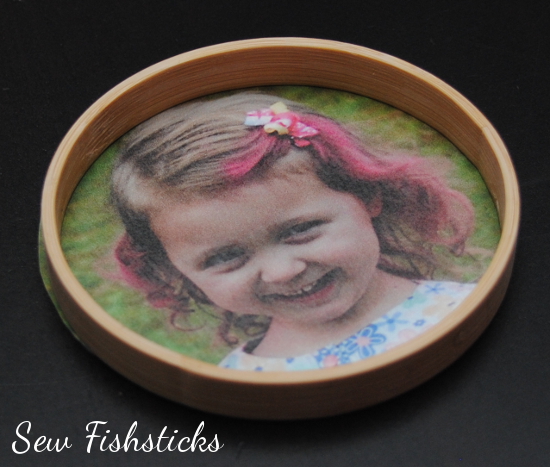 Use your glue stick or your tacky glue to secure the photo to the back of the fabric. You should be able to still see the lines where the fabric was in the hoop before. Center the photo inside these lines, checking to make sure that the top of the photo is facing the same side as the top side of the embroidery on the front.
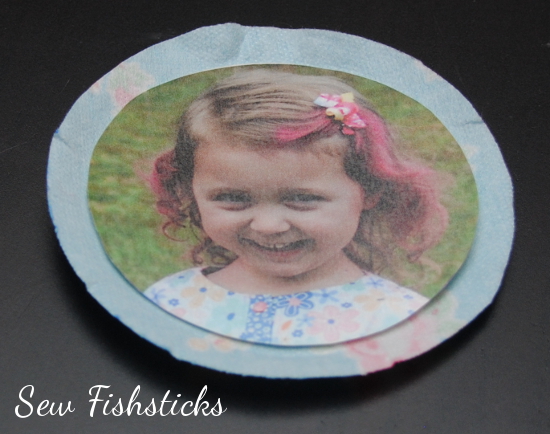 Squeeze tacky glue onto the edges of the back of the fabric outside of the photo.
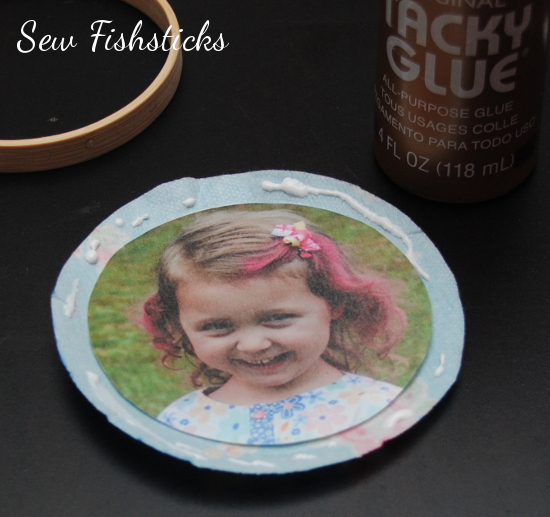 Place the hoop back on top of the photo and press the glued edges up onto the sides of the hoop. (Remember to face the clean side of the hoop out if you got ink on the hoop edges before.) The edges won’t be completely secure at this point, but sticking them a bit will keep the photo in place when you flip the whole thing over.
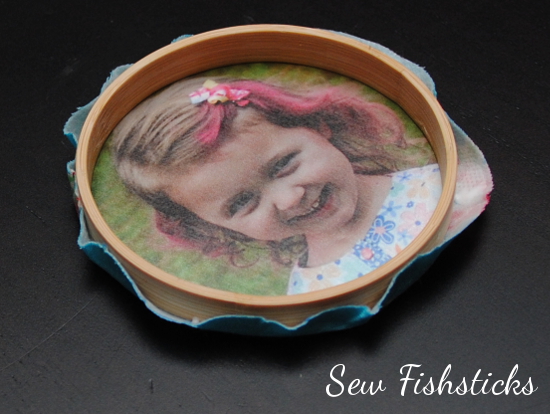 Flip the whole thing over and slide the front of the hoop into place. Tighten the bolt, and you’re done!
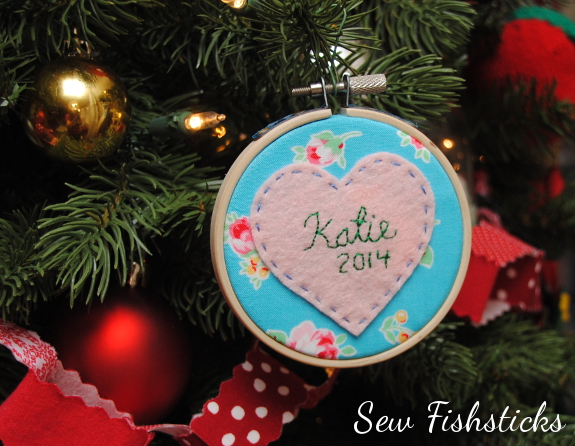
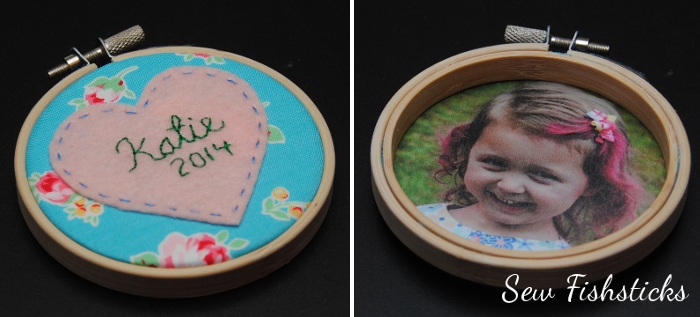 I love that these ornaments will hang on our tree for many years to come to continue to remind us of the little ones that we welcomed into our home while we were foster parents.
 Jamie was born just one month after we moved to Texas, and with five, then six children at home, we had too many to be a foster family. Early this year, though, with four children at home again, we began to feel that familiar call, and we’ve once more completed the training, background checks and homestudy. We should know within the next several weeks if we have been approved to be a foster family again. We’re excited and nervous about jumping back into this lifestyle of loving, providing for and supporting little ones for as long as they need us, then saying good-bye and readying ourselves to start over again. It’s truly the hardest and most rewarding thing that I’ve personally ever done!
One more thought before I go. You may have noticed that our granddaughter’s name is Katie, as was one of our foster daughter’s. Our Katie is indeed named for the foster sister that our oldest daughter was closest to. Our second oldest has plans to name one of his children (someday!) after the foster sibling that he was most fond of, as well. Can I just encourage you if you have biological children and you wonder if fostering would be too hard on them? It is hard, really, really hard, and you definitely must count the cost. Our children, though, learned so much from being foster siblings, and they have some amazing memories from that time in our lives. I’m absolutely positive if you asked them, they would say that as hard as it was, they would never give up the experience. Our oldest and her husband are actually a foster parents themselves now … to a houseful of teenage boys!


I love these, I agree, we have our first little love from foster care currently with us. As much as the thought of her leaving our home ay some point hurts our hearts and the different challenges there are in adjusting my children have fully embraced the calling of loving these little ones in need. Praying for your family add you start once again to prepare for the babies God brings to you.
We are close to adopting our first foster placement. I agree with you that it is the hardest and most rewarding thing I’ve done. Love love love the ornament idea. You inspire me to see and to have a big heart Bonnie, thank you!