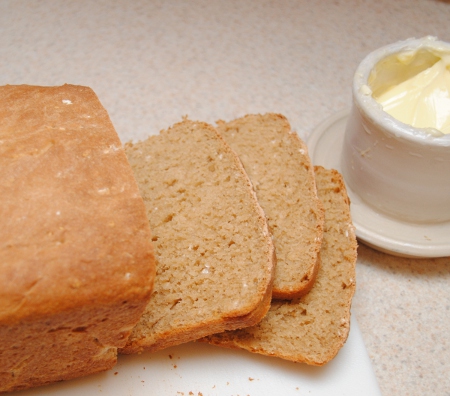
I posted a little last week about our family’s journey towards eating real food. I’m not sure I mentioned, though, what a difference eating real makes in the way all of us feel, and that makes a difference in the way we all behave. The difference really stands out to me when we stumble back into our old ways and allow our children (or even ourselves) to have a little bit of processed food. The food we put into our bodies really affects our whole bodies. If you’re curious, do a little research into how ingredients like high fructose corn syrup (hfcs) and monosodium glutamate (msg) affect the brain. While you’re at it, check out how those same ingredients are often hidden under new names now that we’re becoming wiser consumers. The 100 Days of Real Food Blog is a great place to start!
When I first started looking at labels in the grocery store in an effort to find foods that are free of icky stuff, the bread aisle made my head spin. The number of ingredients in a store-bought “whole wheat” loaf of bread is crazy! The only choice I really had was to get brave and try this bread-making thing myself. I started out, once again, using recipes that I found online and changing up ingredients until I came up with a recipe and a method that works perfectly almost every time. Here’s the fine print: I’ve only been making my own bread for about 8 months, and I’ve only ever made bread in my home in Dallas. Bread is a weird thing. What works in one place, might not work as well elsewhere. Things like altitude and humidity affect bread in weird ways. I would actually love to hear from any of you who try out the recipe to know how it works for you!
The Ingredients:
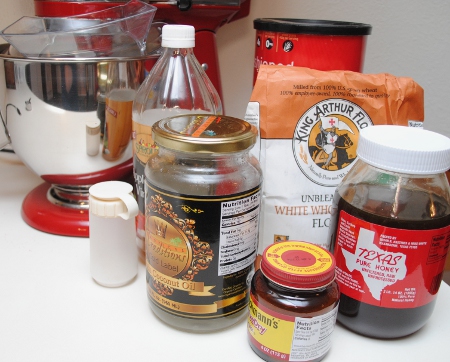
For two loaves of bread
2 1/2 cups warm water
1/2 cup raw, unfiltered honey (local is best)
2 heaping tablespoons active dry yeast
6 cups whole wheat flour (white whole wheat flour gives the best results)
1 cup rolled oats
2 teaspoons sea salt
4 tablespoons coconut oil (or melted butter)
2 tablespoons apple cider vinegar (NOT distilled white vinegar!)
The only special equipment I use is my Kitchenaid mixer with the dough-kneading attachment.
Start by activating the yeast. I use warm filtered tap water from my sink. The water should be between 105 and 115 degrees. Water too hot will kill the yeast. Too cool and it won’t activate properly. I just feel it until it feels warm on my hand. Pour the water into your mixing bowl. Sprinkle the yeast on top. Add the honey. Mix it all together for maybe 20 seconds. Turn off the mixer and set a timer for five minutes.
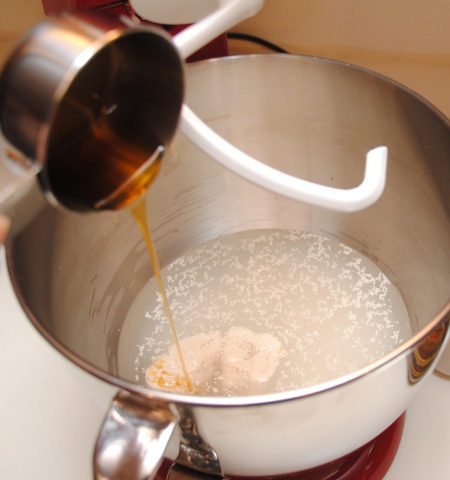
While I’m waiting, I pop over to the other side of the kitchen, turn the oven on and get a batch of real muffins or cookies going to get the kitchen warmed up and ready to make the bread rise.
When the timer goes off, the mixture in your bowl should look white and bubbly or foamy.
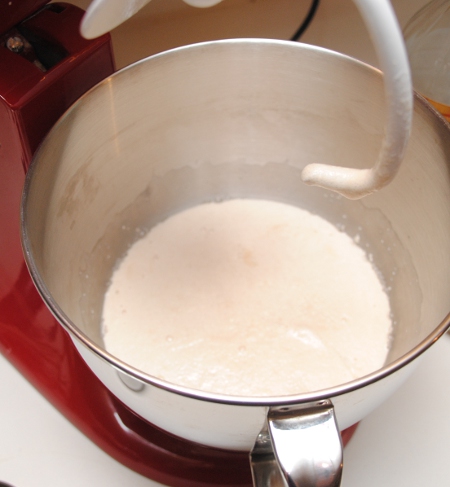
Turn your mixer onto the lowest setting and begin adding the other ingredients. I add them in the order listed.
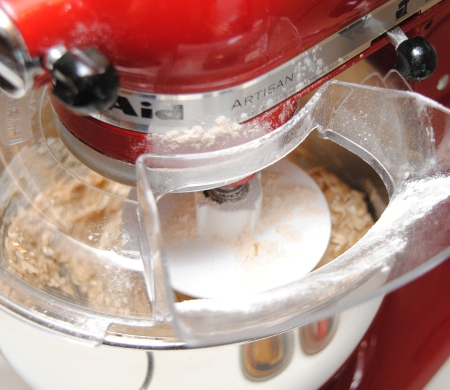
The consistency will change as you add each ingredient. When you add the apple cider vinegar, it will look (and sound) sticky. Let it mix until the mixture forms a dough. If the dough doesn’t form after a couple of minute, add a spoonful of flour at a time until it does. It’s actually okay for the dough to be a little sticky, though.
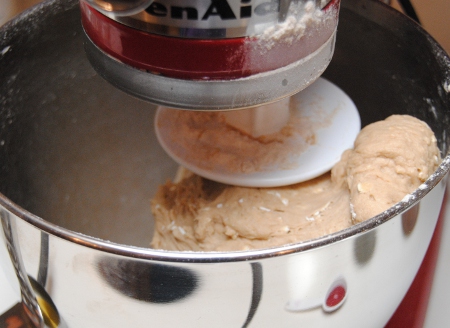
Let your mixer “knead” the dough for 5-10 minutes before removing it. You can let the dough rise in the mixing bowl if you’re only making two loaves. (I do six loaves at a time, once a week. We don’t eat a ton of bread, so six loaves lasts us through the week well.) If you are going to start a second batch, then press the dough down into a greased bowl. Otherwise, just press it down into the mixing bowl and move it over next to the stove to rise.
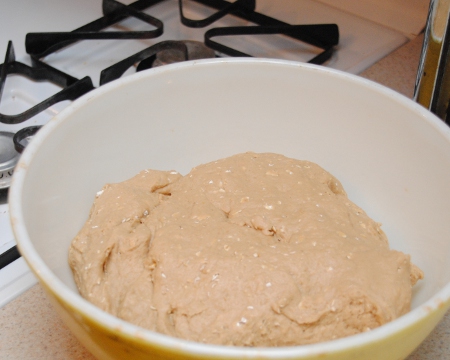
Cover it with a towel and go start your second batch. (I don’t clean the mixing bowl before I start a second batch. I just put it back on the mixer and start again at the top.)
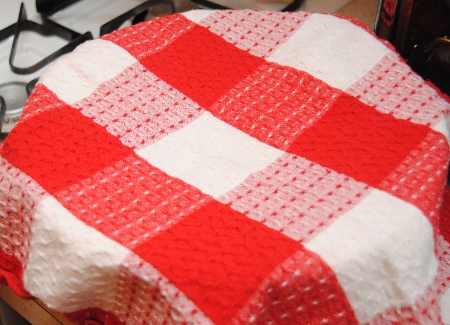
Grease your baking pans while you wait for the dough to double in size. For me, each rising can take anywhere from 30 minutes to an hour, depending on the temperature of my kitchen and the weather outside. (I do avoid making bread when it’s rainy out because it just doesn’t turn out well.)
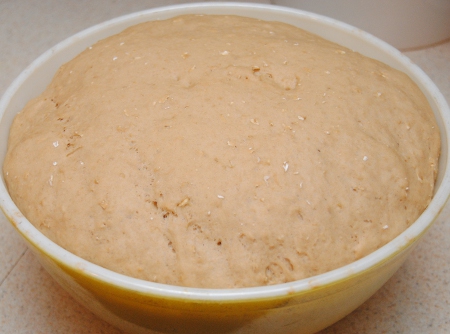
Punch the dough down and pull it out of the bowl. Pull the dough into two pieces. Hold the two pieces, one in each hand, and “weigh” it to get the two loaves as equal as possible. Press the each piece down into a greased loaf pan. (I grease my pans with softened real butter. I use a spoon to put the butter in the pan then spread it around with my hands. Be sure to grease the top edges of the pan in case your dough rises over the edges.)
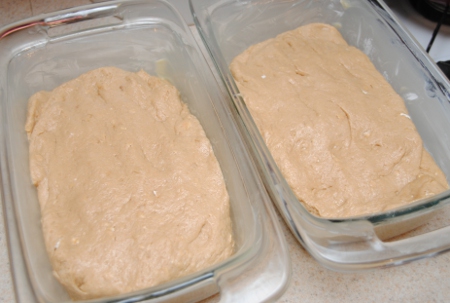
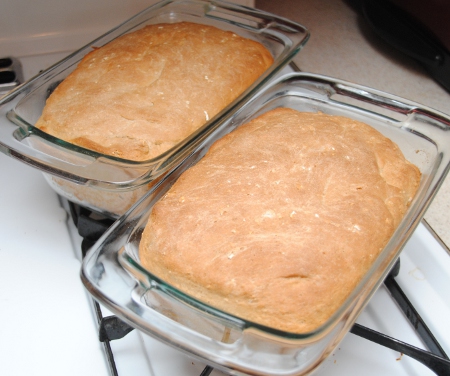
Put the pans back in place near the warm stove and cover them again. Here are my six loaves in various stages of rising. (A tip here: Don’t move the loaf pans once they’re rising! If you do, the dough may fall in the middle, and you’ll end up with a concave loaf of bread that’s a little sticky in the middle. You’ll see further down that one of my loaves fell a little in the middle because I moved it to the stove top and took a few minutes to take pictures before putting it in the oven.)
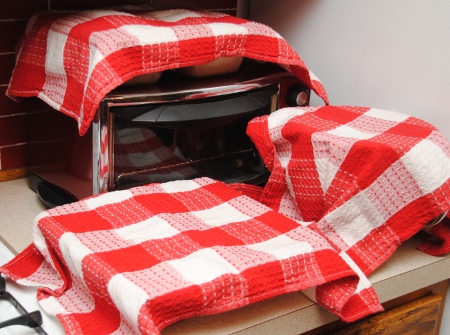
Once the dough has doubled in size again, remove the towel and put it straight into your already preheated oven at 350 degrees.
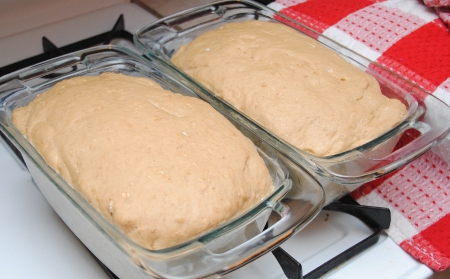
I bake my loaves for exactly 35 minutes. It’s supposed to sound hollow inside when you thump it if it’s completely done.
Dump the bread out of the pans onto a cooling rack as soon as it comes out of the oven. If you don’t, the bottom and sides will get damp from moisture-evaporation.
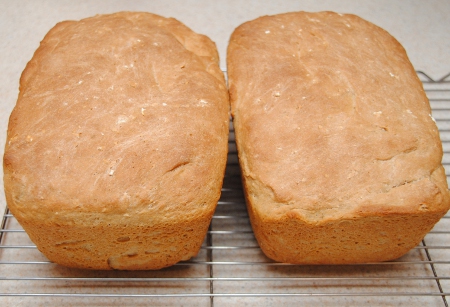
Slice off a few pieces of the warm bread and serve it with real butter to the hungry family members who will come running as soon as they know it’s out of the oven. (Another tip: if you want to cool all of the bread to use later for sandwiches and such, bake it in the evening when the kids are in bed! I like to bake it after dinner, then I pop the loaves into our otherwise-useless over-the-stove microwave to cool overnight. We don’t use the microwave for cooking, but it works great for almost air-tight bread cooling.)

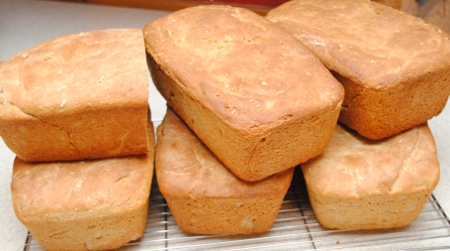
Six . . . I mean, 5 1/2 . . . loaves cooling.
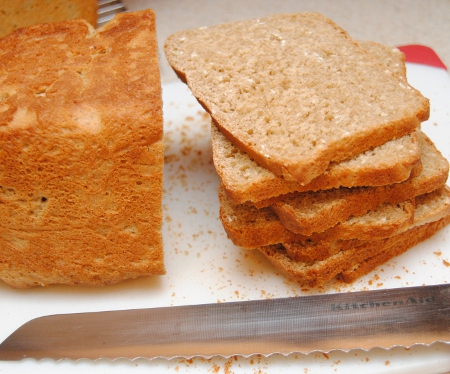
Once the bread has cooled, I like to slice it with a serrated bread knife, about 1/4″ thick. This bread is heavier than store-bought bread, so slicing it thinner makes it nicer for sandwiches. It also makes it stretch further. I’ve found that I get nicer slices if I slice the bread upside down.
I only slice one loaf at a time. The rest I wrap in plastic wrap and store in the refrigerator. (I really need to come up with something reusable to replace the plastic wrap, though.) When we need a new loaf, I pull it out of the fridge and let it come to room temperature before slicing it. I keep the sliced bread stored on the counter in this BPA-free container from IKEA.
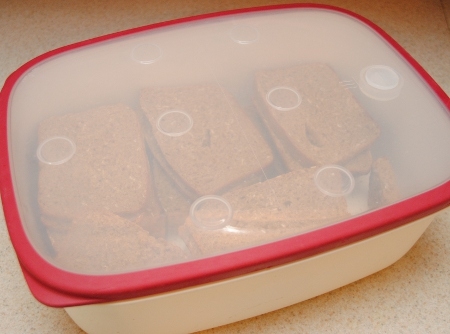
I know it seems like a lot of work, but it really only takes a few hours, once a week, and I’m not actually “working” on it much of that time. Once you get into a routine, baking fresh real bread just becomes routine.
An additional note: You can make this bread vegan and safe for little ones under one year by substituting turbinado sugar (evaporated cane juice) for the honey. To keep it vegan, you’ll need to be sure to use coconut oil rather than butter in the ingredients and for greasing the pans.


Bonnie,
I’m SO thrilled to see another mom working on starting to eat real. I’ve been keeping up on the very same blog and have found it SO inspiring. Once I’m done working and the remainder of the processed foods have been eaten it will my my goal to help my family eat real. I’m going to keep checking back for any tips that you have during your mission.
Hooray for real food! I don’t know when the last time was that we bought bread. We usually just do a no-knead french style, but this looks so tasty! We’ve had to convert back to only eating real since I became allergic to corn two years ago. It is very inconvenient, but we’ll be so much healthier now! I’m trying to encourage everyone I know to skip the packaged stuff too.
I am with you on the head spinning ingredients in whole wheat bread (not to mention all the toppings for said bread). I have been experimenting with various recipes of whole wheat and multigrain bread for about 4 years. While it is definitely true that most recipes don’t work in all locations, I found that the whole wheat bread recipe from America’s Test Kitchen turns out perfectly every time. I used to live in Idaho and now live in England…still great bread. The only change that I make is to forego the vegetable oil and replace it with olive oil or extra butter. Still works great. Best wishes eating real!!!
We recently switched to all white whole wheat flour, in place of white. I still use whole wheat for bread because that’s what I grew up on and my kids don’t know any better. 🙂 I use King Arthur’s 100% Whole Wheat bread recipe, though I skip the nuts and extra gluten and sometimes add ground flax. Also I use less honey, there is a lot in the recipe! I used to do the Kitchenaid but I prefer to make a huge batch all at once in a big bowl and hand knead, just because it’s all rising at the same time. All that said, I’m in upstate NY which is decidedly NOT Dallas so the same recipe may do nothing for you!
This post came in perfect time for us – we were at the store today looking for bread and I just got so frustrated trying to find something good that my 5 year old told me, “Mom, let’s just go home and make some!”. So it’s rising as I type! Thanks!
Thanks for this recipe! It makes the most delicious bread and the best tasting sandwiches. 🙂