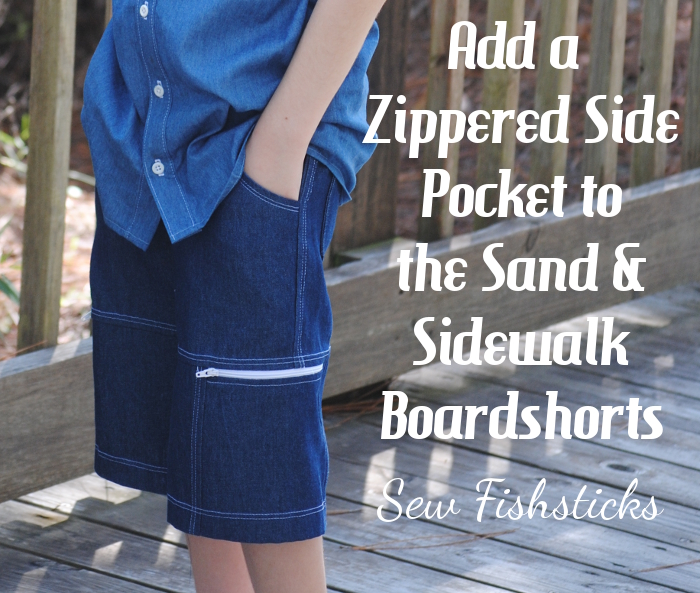
 Because you asked, and it makes me happy to make you happy … here are the instructions for incorporating a zippered pocket into the side of the Sand & Sidewalk Boardshorts. Those of us who live in the deep south or in the southern hemisphere will be using this tutorial right away — I promise that I’ll remind those of you up north about it in the spring! In case you’re not familiar with the Sand & Sidewalk Boardshorts and Skate Pants pattern, a front knee panel is incorporated into both the shorts and the pants. This tutorial is only for the shorts. (The curve at the bottom of the knee panel on the pants would make this more difficult.) This tutorial is a little long but the most complicated step is drawing in the back portion of the wrap-around knee panel, and that’s not really hard at all! I’ll walk you through each step, and if you have a question, just ask!
Start by printing and assembling your pattern.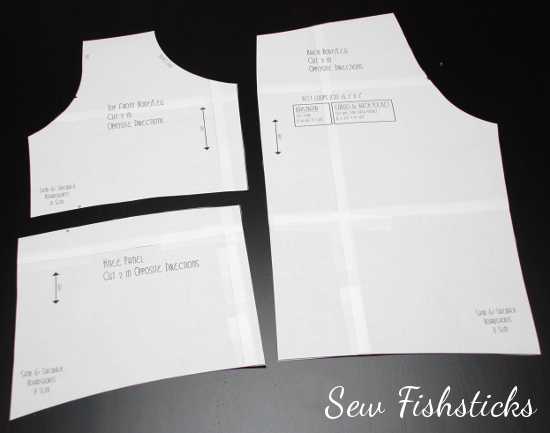 Flip the knee panel pattern piece over onto the bottom edge of the back pattern piece so that their right sides are facing. Line the bottom edges up on the right hand side as you’re facing the pattern pieces. Mark where the top edge of the knee panel hits on the right hand side. (Doing this will assure that the sides of your knee panel will line up properly.)
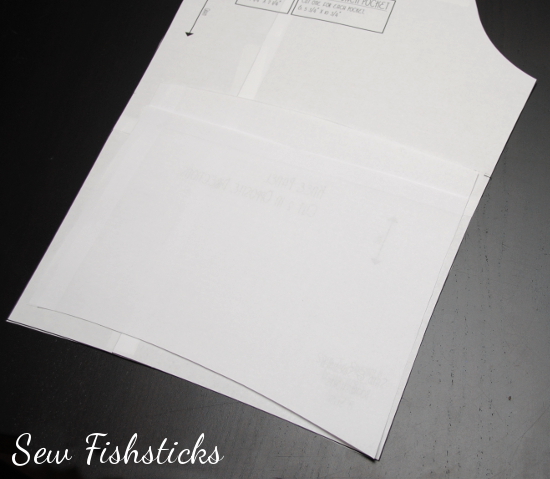 Flip the knee panel back over and place the right hand edge of it so that it’s overlapping the left side of the back pattern piece by 1″ with the bottom edges aligned, as shown. Tape this in place.
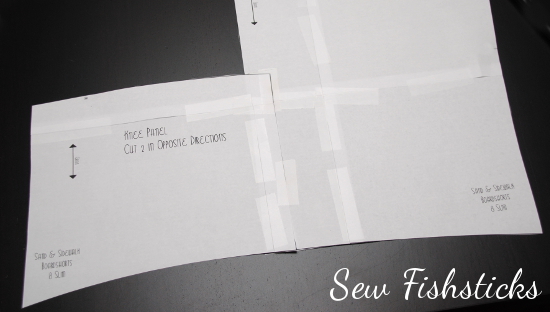 Now comes the slightly tricky part. You’re going to have to draw in a slight, gentle curve from the overlapped edge to the far side of your back pattern piece where you made that mark before. (I’ve found that it’s easier to get a nice curve when I cut than when I’m drawing, so if your curve isn’t perfect now, you may be able to “fix it” when you cut in a minute.) You can see here that I drew the curve starting at the very edge of the back piece, rather than starting at the edge of the overlapped knee panel. This will give you a smooth finish on the top of your pocket.
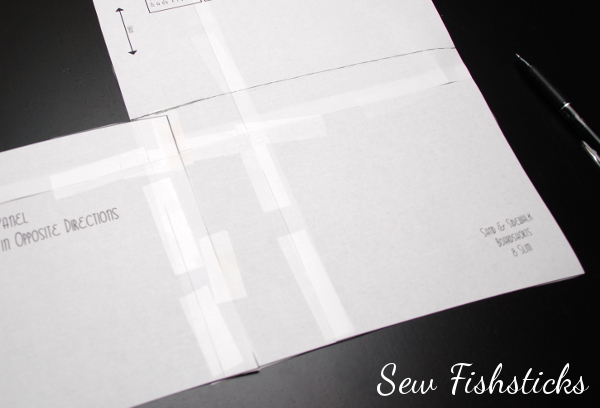 Still with me? Now cut along that curve that you just drew.
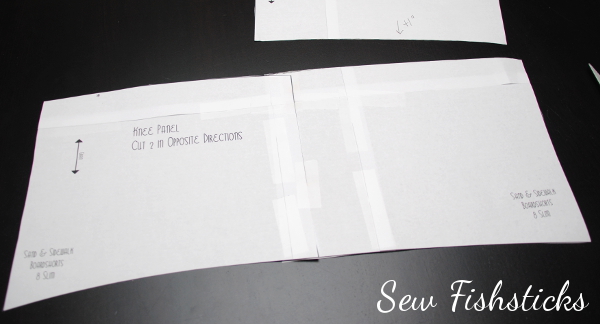 Before you move on, make a notation on the top back pattern piece that you just cut away that says, “Add 1 inch,” with an arrow pointing to the bottom edge. (You’ll need to add an inch when you trace this later to accommodate the seam allowance.)
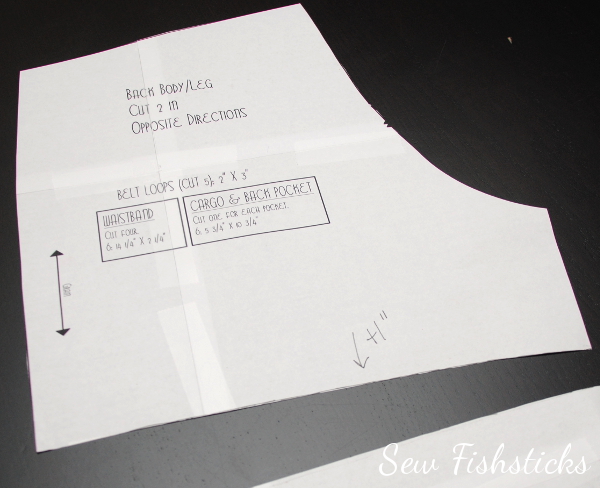 Deep breath. When you finish this, you’ll be ready to modify all sorts of patterns to do fun things like this! Okay, now we need to draw in the pocket. On the size 5 that I did for Charlie, I made the pocket 5″ wide. On the size 7/8 that I sewed for Jamie, I made the pocket 6″ wide. You sort of have to decide what size works best for the size shorts that you’re sewing. (And, you’ll need a zipper slightly longer than the length you decide. Any length will work, as long as it’s at least a bit longer than the width of the pocket.) The center of your wrap-around panel is going to be at the center of that overlap. Draw a line there, then draw straight lines 1/2 the distance of the width of your pocket on each side. In this case, since my pocket is going to be 6″ wide, my lines are both 3″ out from the center. (The center line says, “Seam line”, on my copy because that is where the seam on the upper part of the shorts will line up.)
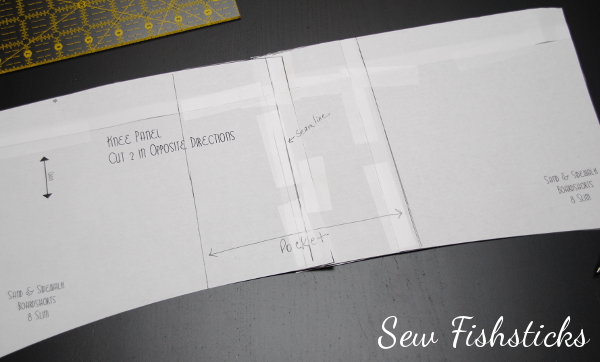 The lines that you just drew in will end up being the finished seam lines, but you need seam allowances drawn in before you can cut out your fabric. If you have different color pens on hand, some color-coding may help keep things clear in this step. I generally use a 1/2″ seam allowance on all of my patterns, so that’s what I’m going with here. To get the width that I’ll cut the pocket, I drew new lines 1/2″ on the outside of the original lines. Those are the blue lines in the following two pictures. For the front and back pieces of my wrap-around panel, I added lines 1/2″ to the inside of the pocket seam lines. Those are the red lines that you see here. I like to draw in arrows and note which part is cut to which line when I draw in these seam allowances. Otherwise, it’s really easy to get mixed up!
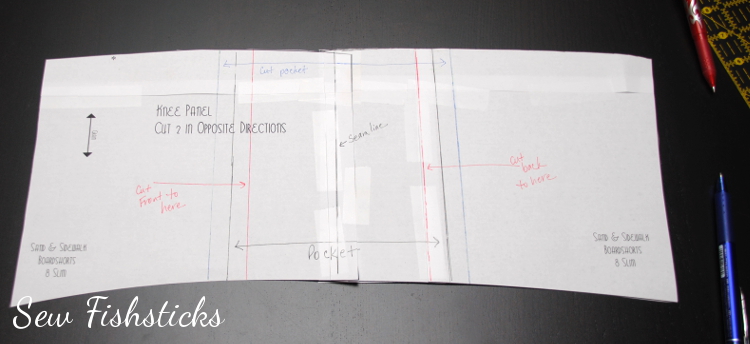
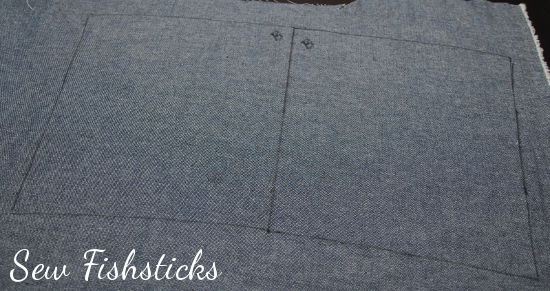
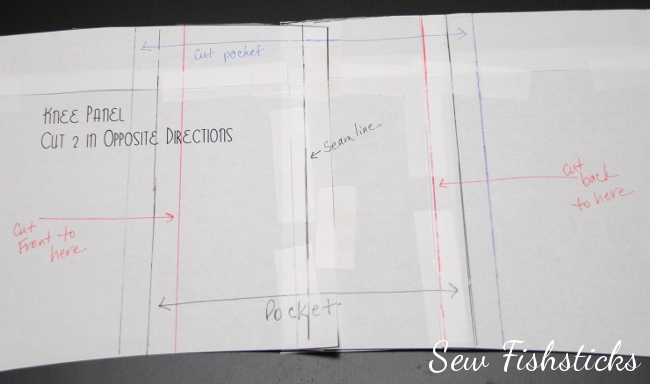 You’re ready to cut out your fabric pieces! What I usually do is place the pattern on the fabric, trace the outside of the pattern up to the lines that I’ve drawn in …
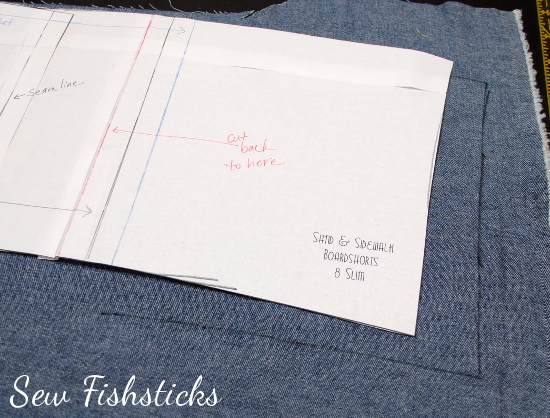 Then, I either fold the pattern back on the line, or I use a straight-edge to draw in the straight line.
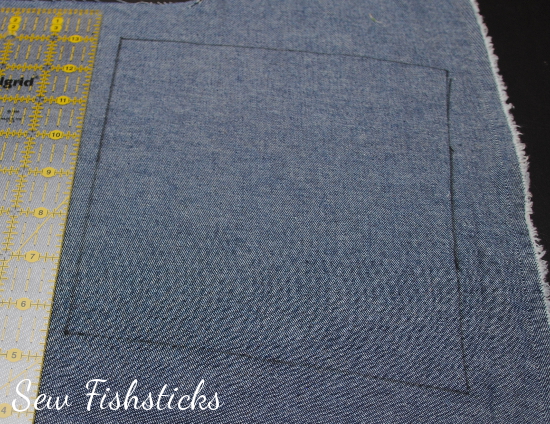 Be sure that you’re tracing your pattern pieces to the correct seam allowance line. You’ll need four pocket pieces (two, then two reversed), and you’ll need two each of the front and back pieces (one, then one reversed). Label your pieces when you trace them!!! I put a letter “B” for the back, a letter “F” for the front and a letter “P” for the pocket using a washable marker at the inside edge. (If you don’t label these, you may end up with a mess.)
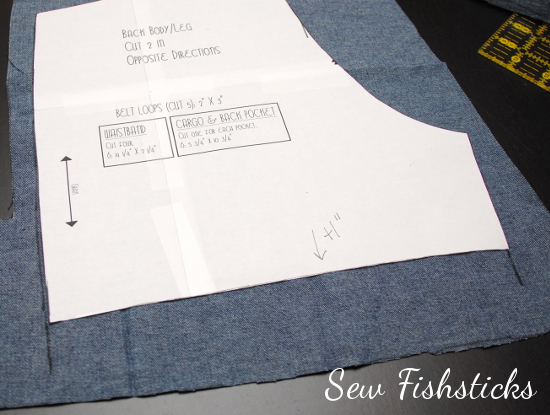
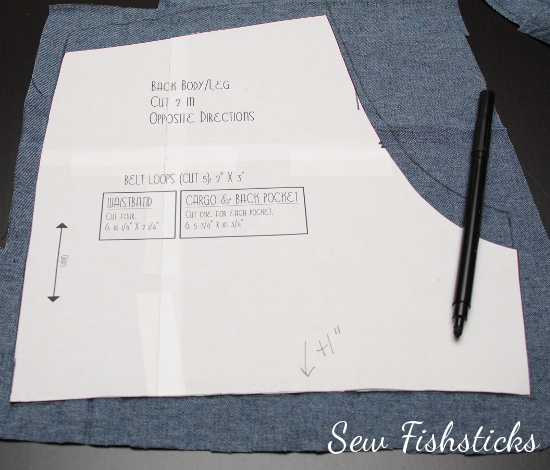
 Now that your wrap-around/pocket pieces are all cut out, you’ll need to cut out the rest of your pieces. When you cut out the upper back, you’ll need to add 1″ for the seam allowance. (Since you didn’t add 1/2″ to the back knee panel that you created, you’re adding the seam allowance for it and the seam allowance for the back at the same time. Just trust me, that you need an inch. You do not need to add seam allowance to the front piece, since it has the seam allowance already added in.)
 Time to sew in the zipper! Are you ready? Lay out the pattern pieces for the wrap-around on one leg, and arrange them in order. This photo shows the pieces for the left leg. The front piece is all the way to your left, the two pocket pieces are in the middle (both with right sides facing up) and the back piece all the way to your right. You want your zipper to close with the pull towards the front of the pants.
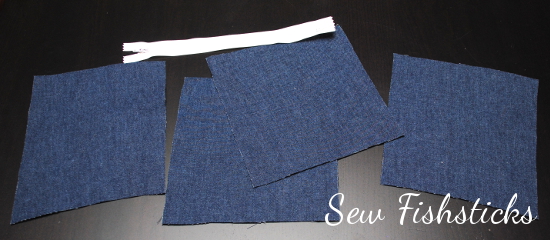 Set everything to the side except for the front pocket piece. Turn your zipper face down, as shown, on the top edge of this piece and line up the edges. Pin the zipper so that the pin heads will be facing you as you guide the zipper through your machine. That will allow you to remove them as you get to them.
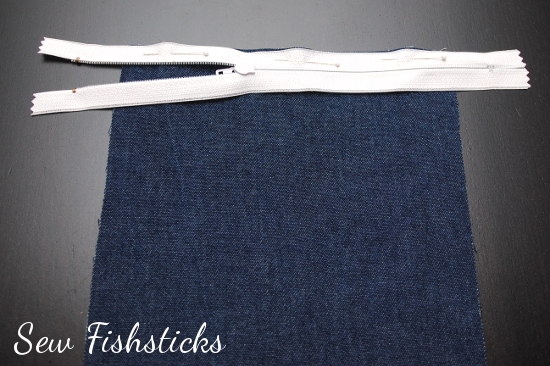 Put the zipper foot on your machine and adjust the needle so that it falls 1/4″ from the zipper’s outside edge. (Remember this setting because when you sew the other side of the zipper, it will be hidden between two layers of fabric, and you want both sides to be even.) Stitch the zipper in. When you get to zipper pull, backstitch, remove the fabric from the machine, pull the zipper pull past and start stitching again where you left off.
 Once you have this side of the zipper stitched in, I like to flip over to the back and trim away some of the fabric so that those raw edges will end up sewn neatly under the zipper when it’s topstitched. (If you don’t do this, those edges may fray with washing and end up getting caught in the zipper teeth. You won’t have to do this on the other side of the zipper since it will be sewn between two layers of fabric.)
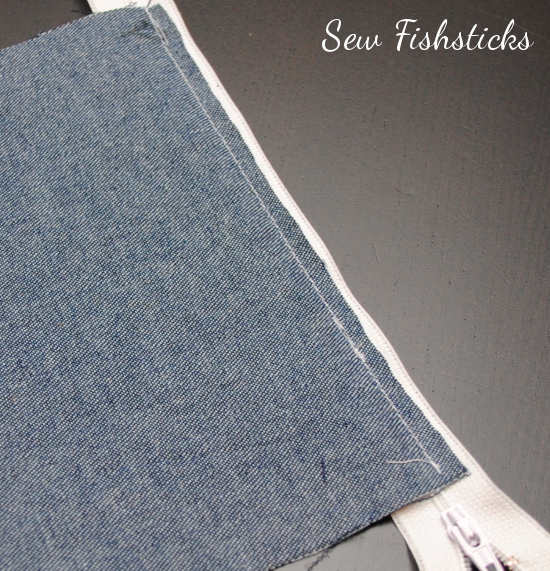
Flip the pocket down away from the zipper and press it lightly. (Be careful because plastic zippers can melt!) Topstitch 1/4″ from the seam.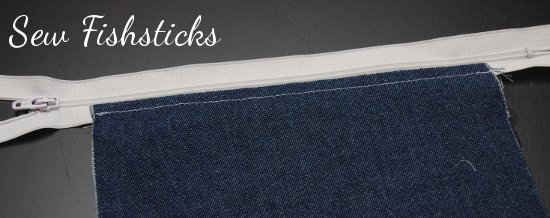 Pull the zipper pull over so that it’s above the pocket and cut away the extra zipper.
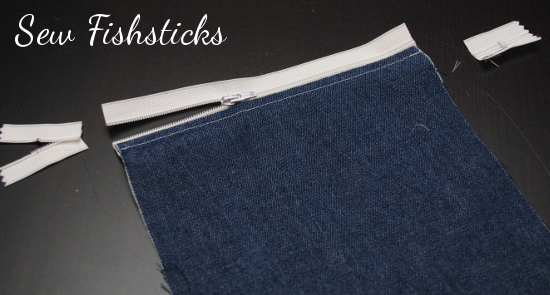 Place the second pocket piece behind the front. Line up the top edge of this piece with the top edge of the zipper and pin. Flip the front piece up at the bottom edge and trim away enough of the bottom pocket piece so that it falls 1/2″ shorter than the front piece. (This will reduce the bulk when you hem the shorts.)
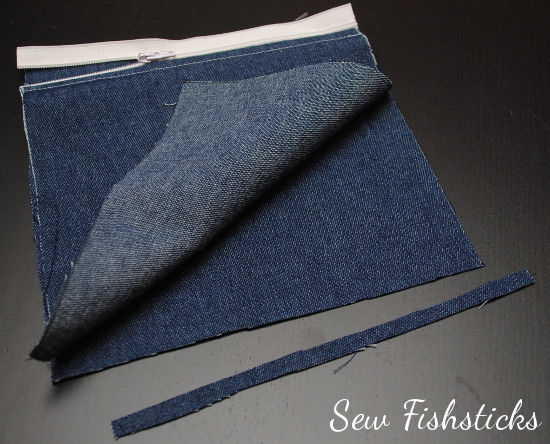 Sew the back wrap-around panel piece to the back side of the pocket. Serge or overcast your seam allowance to prevent fraying. Before sewing the front of the wrap-around to the pocket, pull the zipper pull back and pin the zipper teeth close together.
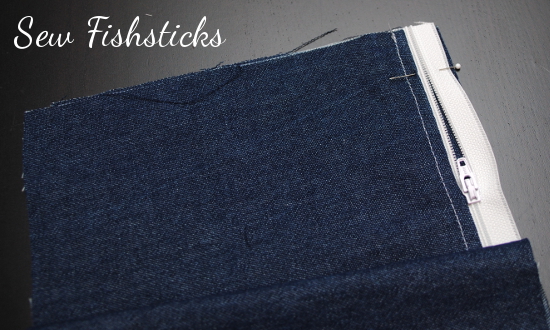 Sew the front of the wrap-around piece to the pocket. Serge or overcast the seam allowances.
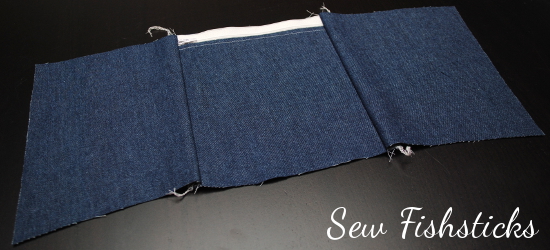 Pull out that twin needle and topstitch down both sides of the zipper. (Or just sew two rows of side-by-side topstitching.)
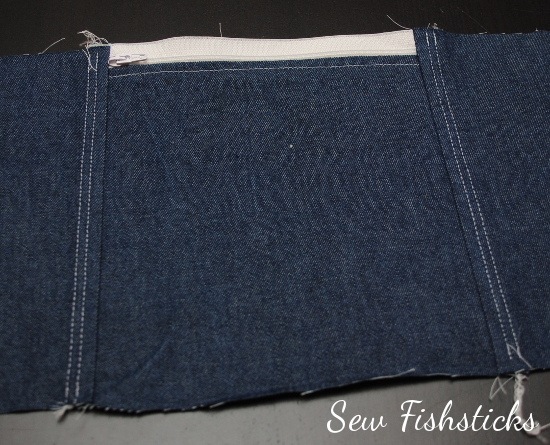 If you haven’t already assembling the top portion of this leg, do so now. (This top portion looks slightly different than the pattern because it’s the modified version that I did for Project Run & Play.)
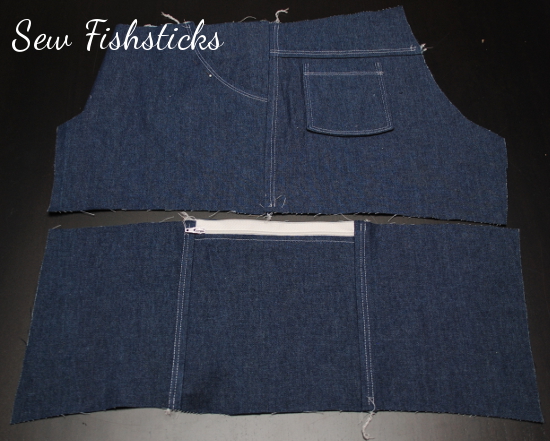 When you pin the wrap-around panel to the bottom edge of the top portion of the leg, pin the top edge of the zipper in the same way that you pinned the bottom edge of the zipper earlier. This time the zipper will be sandwiched between two layers of fabric, so be careful to line up the three edges evenly. Sew the pieces together using your zipper foot with the same settings you used for the bottom of the zipper.
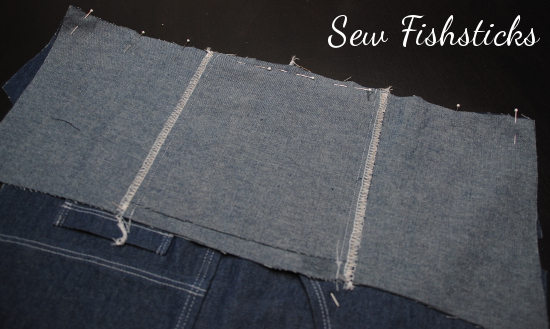 When you overcast or serge this seam allowance, you’ll need to open the zipper, go part-way, stop, pull the zipper past and start again where you left off.
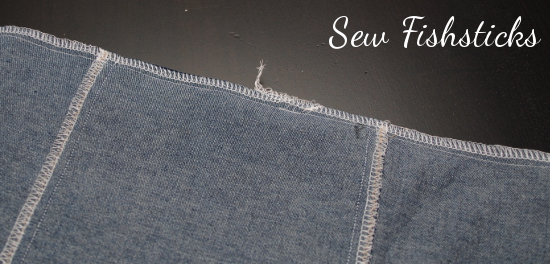 Topstitch above the seam using a twin needle or stitching two rows of side-by-side stitching.
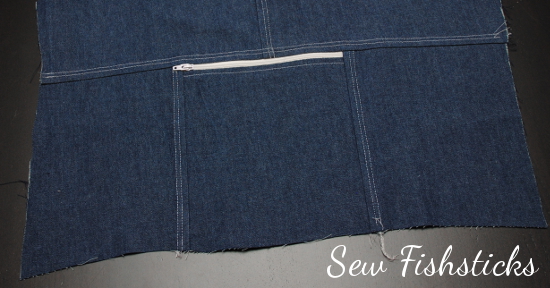 From here, you’ll do the other leg, then follow the instructions in the pattern to complete the shorts. Be careful, though, when you line up the inseams the make sure that the wrap-around seams are lined up as closely as possible.
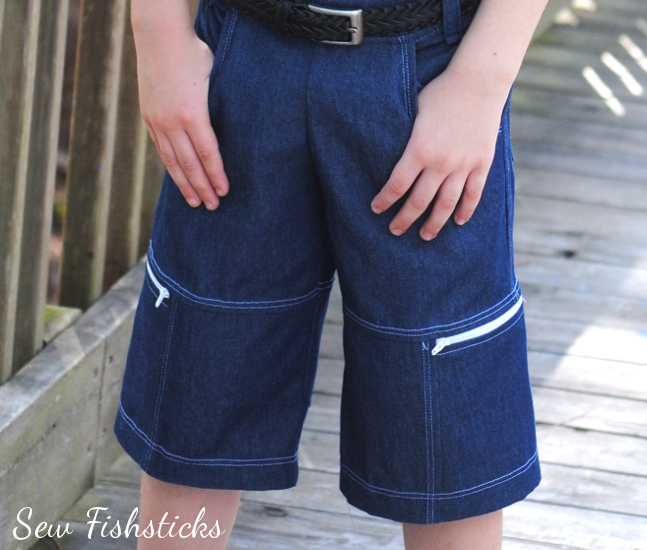 That wasn’t too hard, was it? A few little tips/notes: first, I didn’t put this together in a PDF, but my blog has Print-friendly button at the bottom of each post, that will make it easier for you to print if you prefer. Second, because you’re basically drawing in your pattern and you’re not a computer, you may get edges that don’t quite line up. As long as they’re small pieces, just trim them so that they do line up and move on. Those little tiny misalignments aren’t going to affect the fit of the final piece.
Go sew some cool shorts! And, then share them with us! We would love to see them in the Fishsticks Sewing Group or on the Fishsticks Fan Page or tag me on Instagram!


thank you so much!!!! Can’t wait to try it!!!