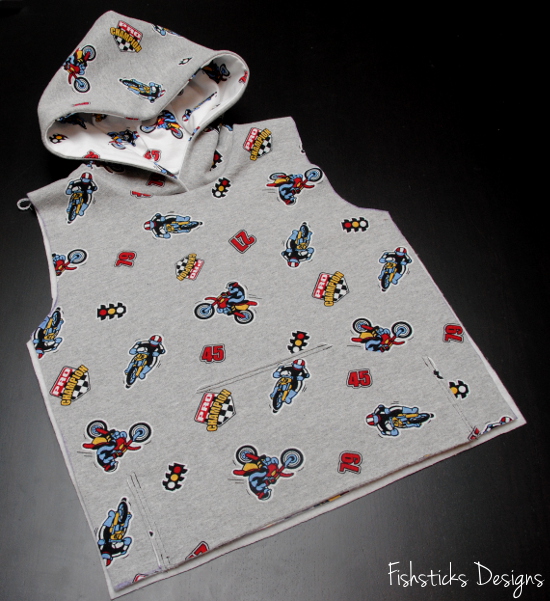
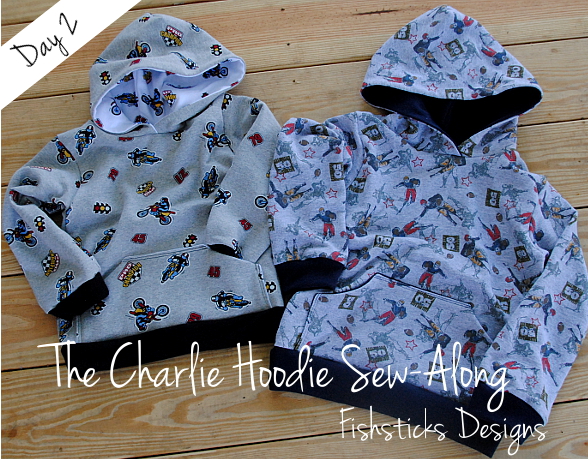
 It’s Day 2 here at the Charlie Hoodie Sew-Along! How did your pocket sewing go yesterday? Ready to move on to the hood? Go ahead and grab the inner and outer hood pieces and let’s get started!
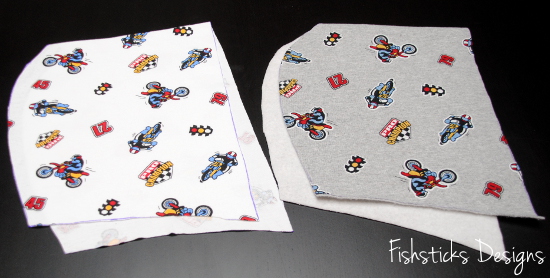 Flip each one over so that the right sides are together and pin along the back curve. Sew or serge that pinned edge on both pieces.
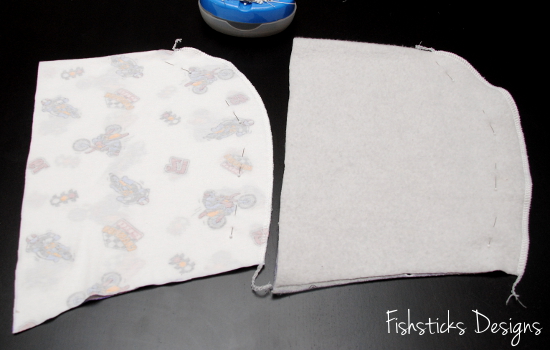 Now turn the hood inner right-side out and slide it inside the hood outer so that the right sides are facing.
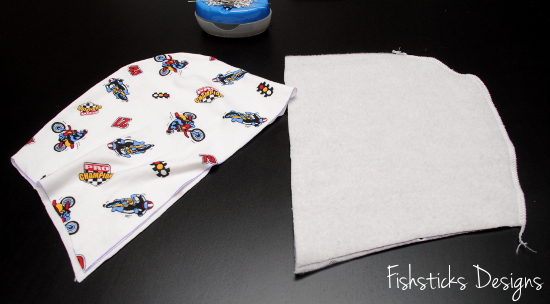 Pin the two hood pieces together around the front of the hood. Sew or serge around that pinned edge.
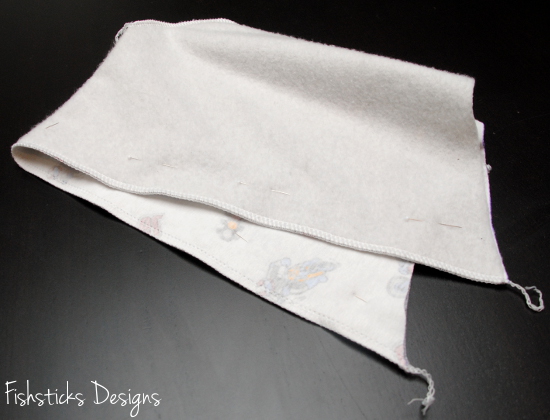 Flip the hood inner out of the hood outer, turn the pieces right-side out through the opening at the bottom, then push the hood inner back inside the hood outer. Now the wrong sides should be facing, and the right sides should be facing out. Press well all the way around the front edge of the hood. (You can topstitch this edge if you’d like.)
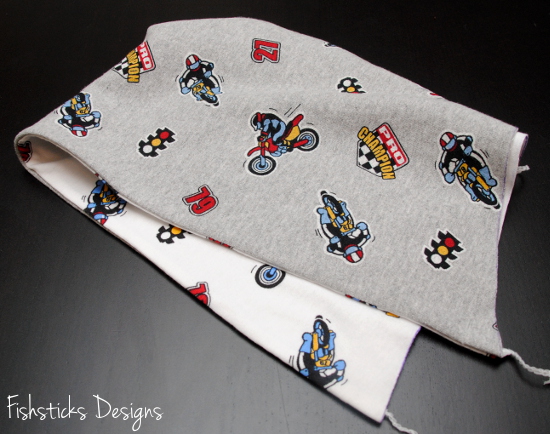 Now that your hood is ready, you need to sew the shoulders of your body pieces together. Place the front on top of the back with the right sides facing and line up the shoulders. Pin them in place and sew or serge across each one.
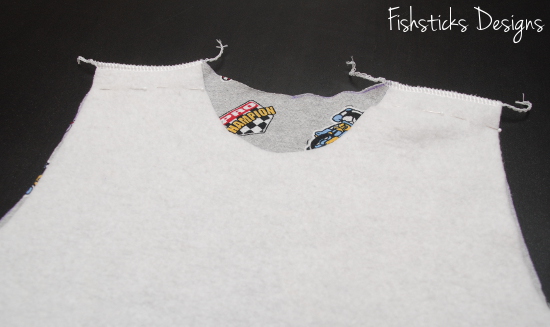 Before pinning the hood inside the neck opening, it’s a wise idea to find and mark the center front and the center back. The easiest way to do this is to pull the front and back apart, then fold the whole thing in half like this:
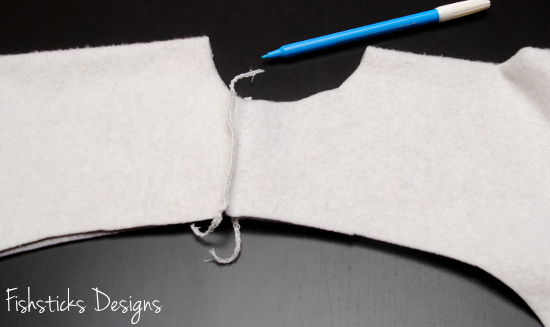 Now you’ll easily be able to mark those center points on both the front and the back with your washable or disappearing marker.
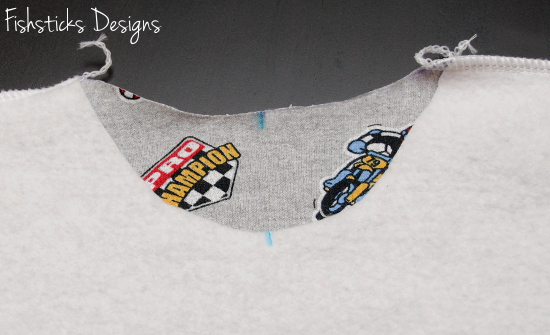 With the hood right side out, slide the hood inside the neck opening. Match up the seam at the back of the hood with the mark you made at the center of the back of the neckline and pin. At the center front, overlap the front edges of the hood 1/2″ and pin in place. Pin the sides of the hood evenly.
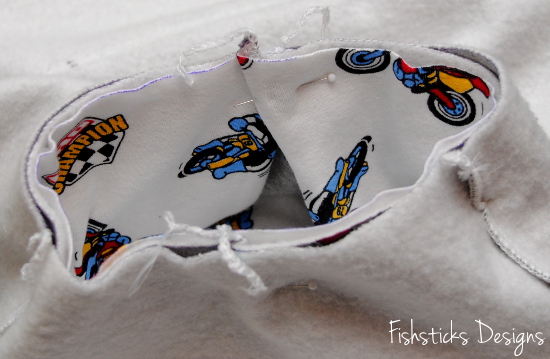 Sew or serge the hood in place. Remember that we’re using the standard 1/2″ seam allowance rather than the 3/8″ seam allowance that we used on the neckband of the tee. If you’re using a fabric like sweatshirt fleece or cotton french terry that has less stretch than most cotton knits, and you find later that you’re having a hard time pulling the hoodie on and off, you can go back and widen this seam allowance to give a little more room. Don’t do it unless you need to, and don’t go more than an 1/8″ wider! You will lose a little shoulder width and hood height. An 1/8″ won’t take away too terribly much, though, and it adds up quickly all the way around the neck opening. (If you need a picture of how I sew the hood in using my serger, check out this post that shows how I serge the neckband on the Charlie Tee: Charlie Tee Sew-Along Day 3. I sew my hoods in exactly the same way.)
Flip that hood out and admire how nice it looks! It’s starting to look like a hoodie already, isn’t it? We’re going to stop there today and move on to sleeves tomorrow!